Funwhole F9066 review: Graffiti Bus Stop is a new, unique set in its growing city lineup with 514 excellent pieces, tons of prints, and many details.
I’m back with a new set after a long break on the website and YouTube. This was not planned but came unexpectedly.
After Christmas, Funwhole asked me if I would build and review the new F9066 Graffiti Bus Stop. I accepted, and here is my detailed build experience and review.

The set is not yet available in Europe and the US at the time of article publication. It is already shipping from the official Funwhole warehouse and other brick retailers in China.
Unboxing
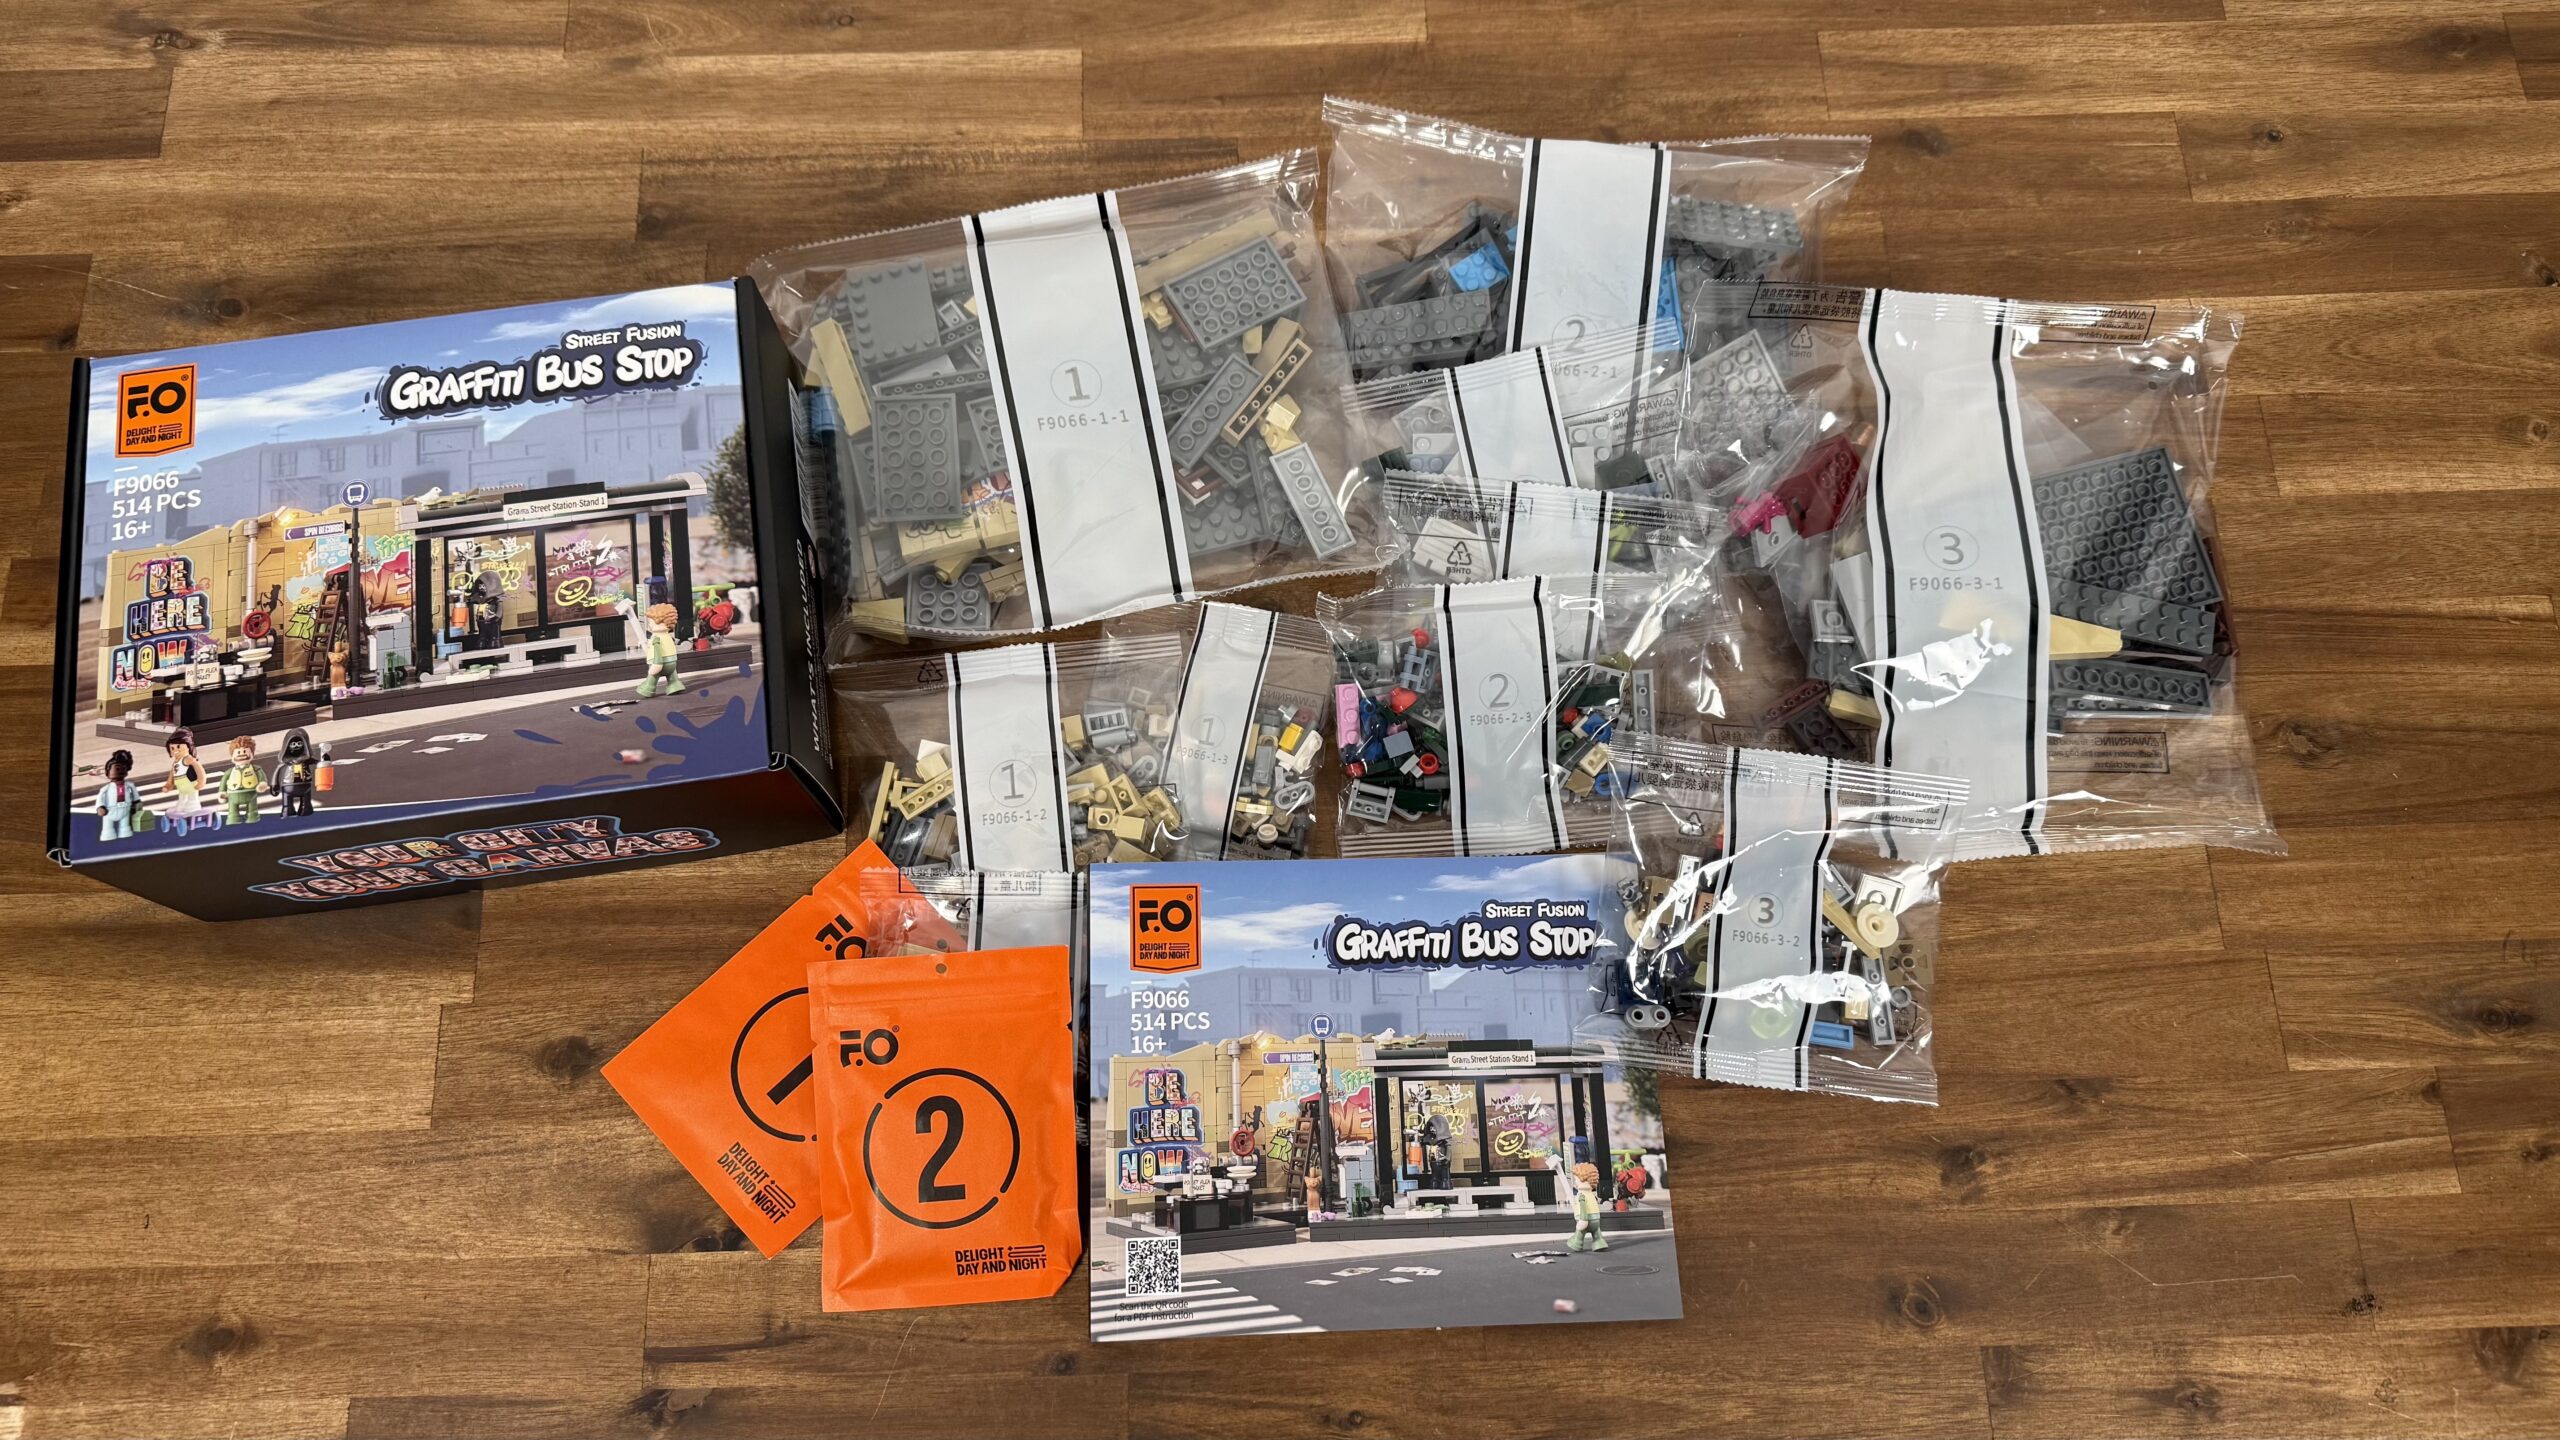
The Graffiti Bus Stop comes in a high-quality, beautifully designed box that can be resealed. This allows you to store the set conveniently when you dismantle it again.
The box contains ten plastic bags containing various parts and two orange LED-focused pocket bags. It also includes a compact instruction manual.
Key Features
| Seller | Funwhole |
| Designer | Funwhole |
| Bricks | GoBricks |
| Product name | Graffiti Bus Stop |
| Age | 16+ |
| Set dimensions | 25.6 × 12.8 × 12cm |
| Product serial number | F9066 |
| Pieces | 514 |
| Stickers | Yes |
| Pad Prints | Yes |
Instructions
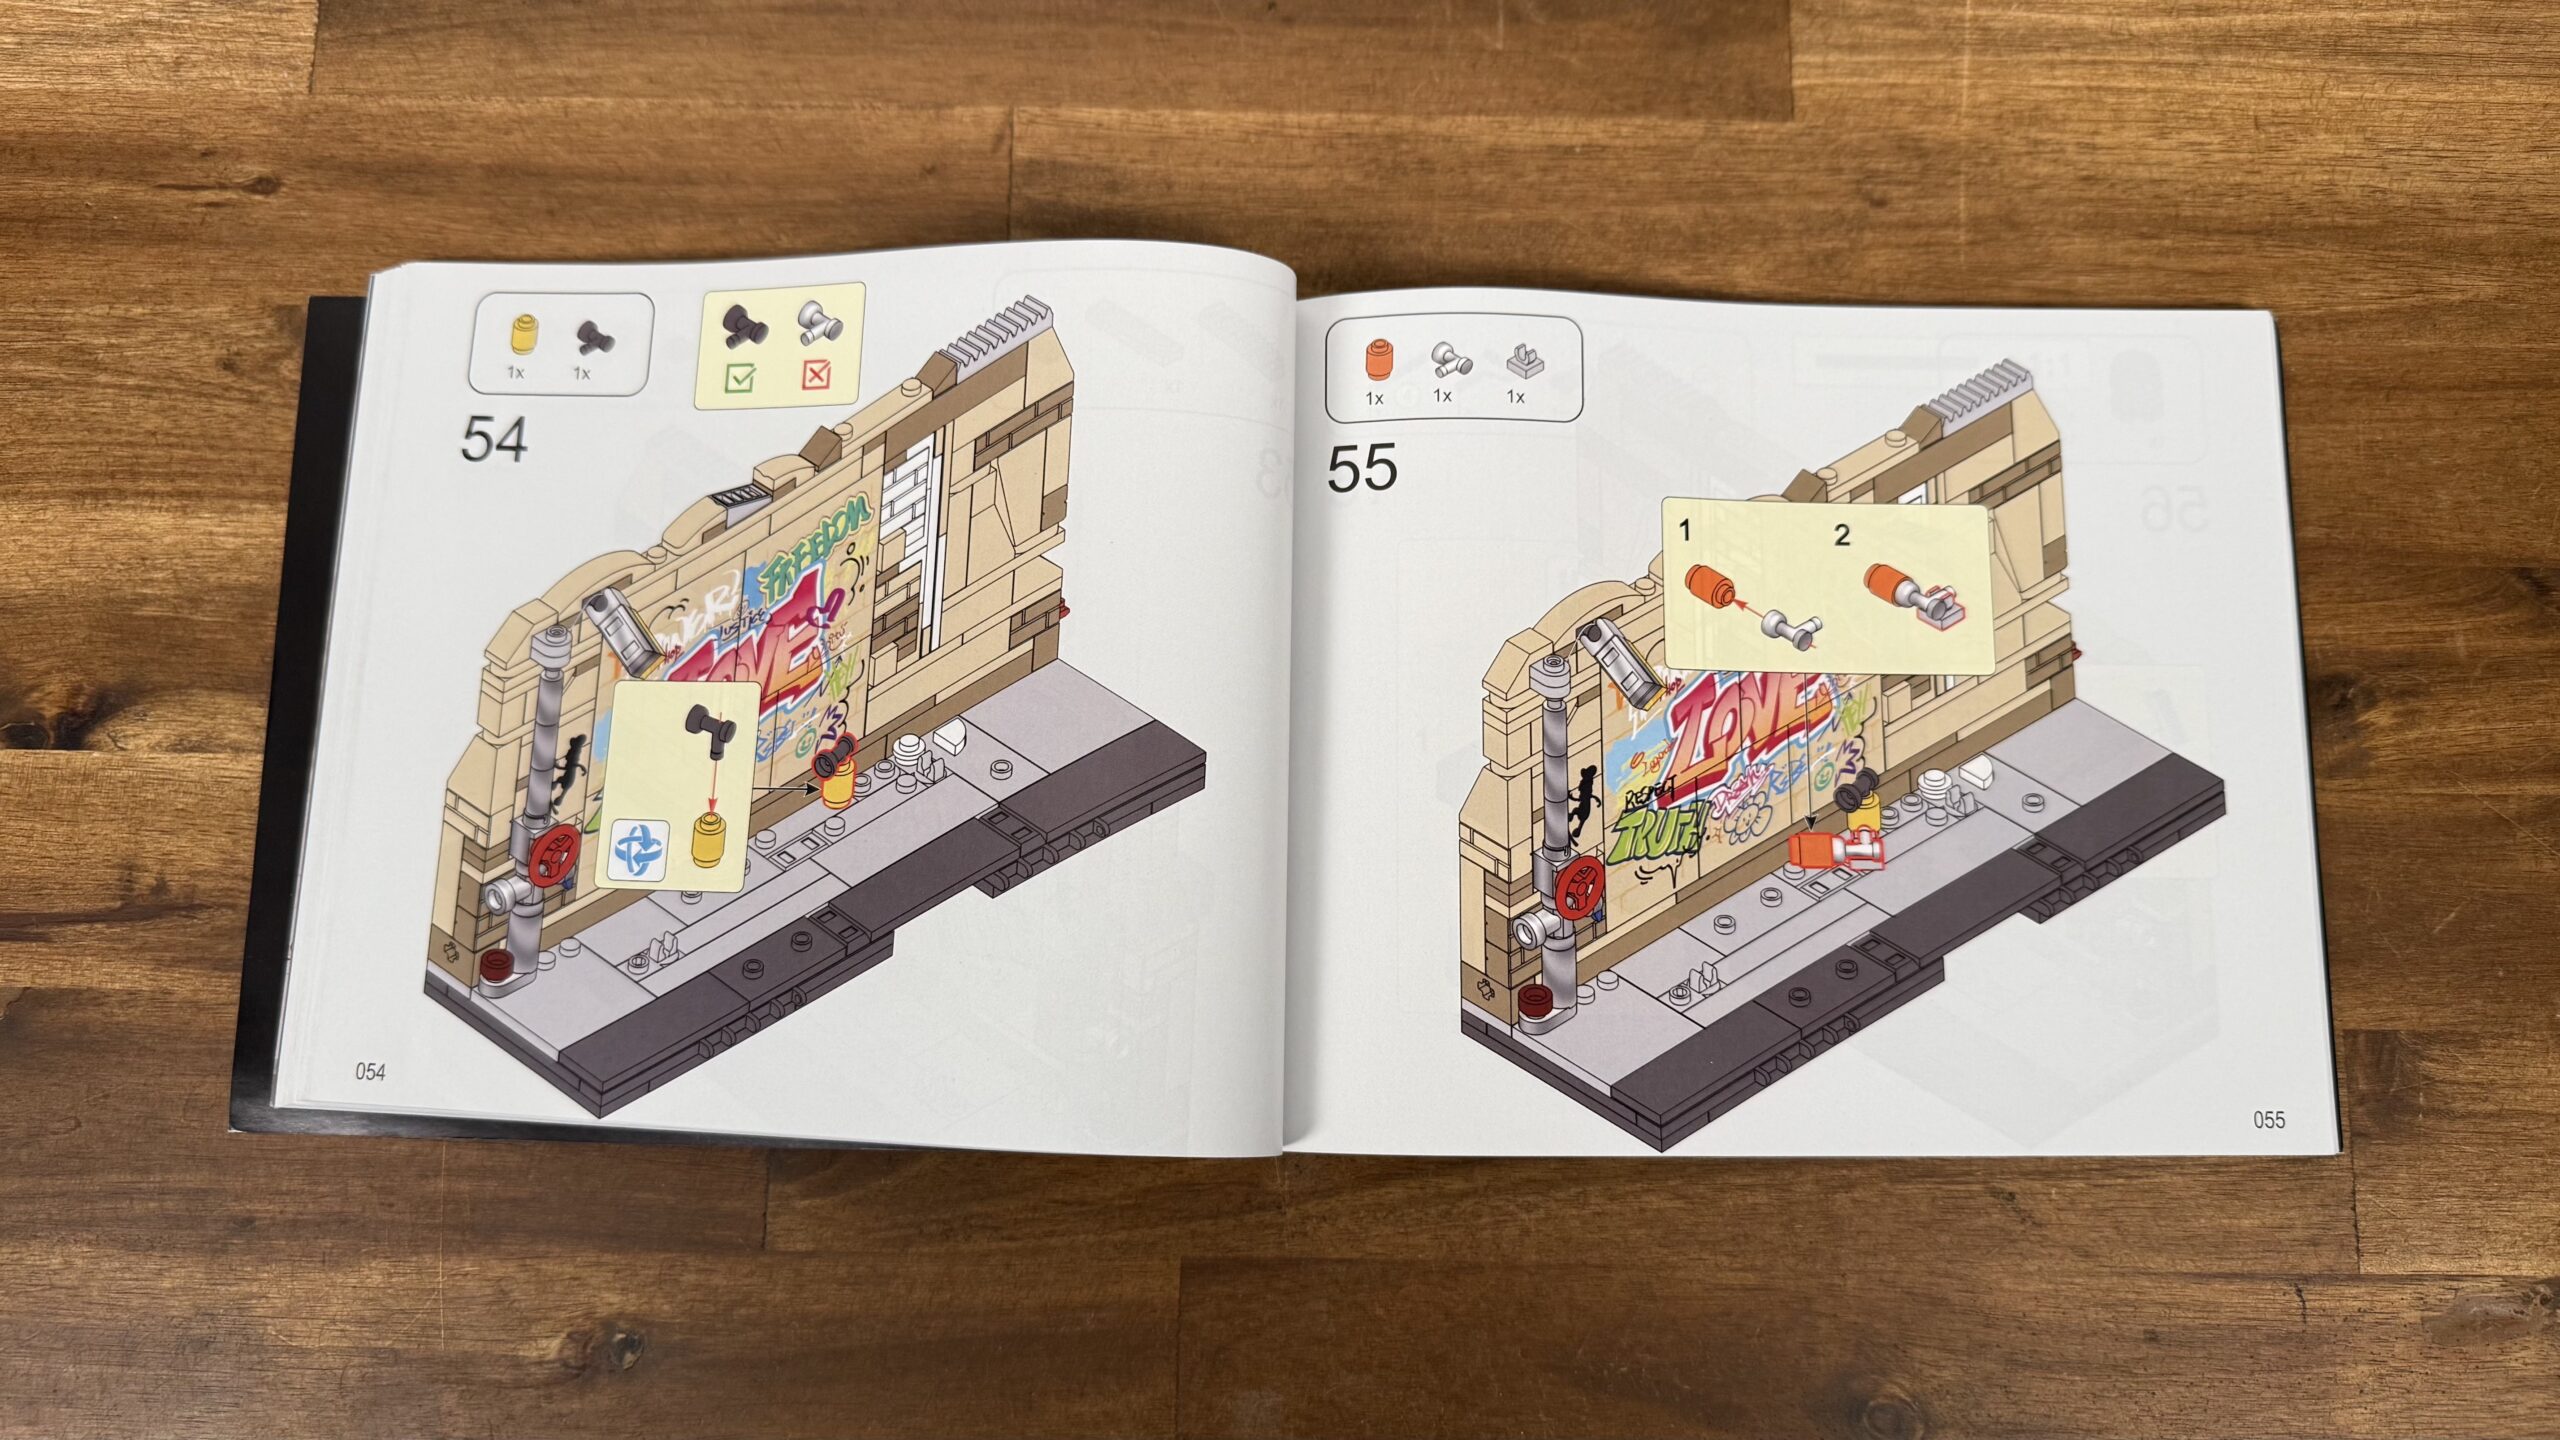
Take a quick look at the assembly instructions. They are 150 pages long and packaged in a compact, high-quality printed booklet.
There are three construction steps, and each sub-step is very Lego-like, with only a few bricks. This makes it very easy for children and beginners to build.
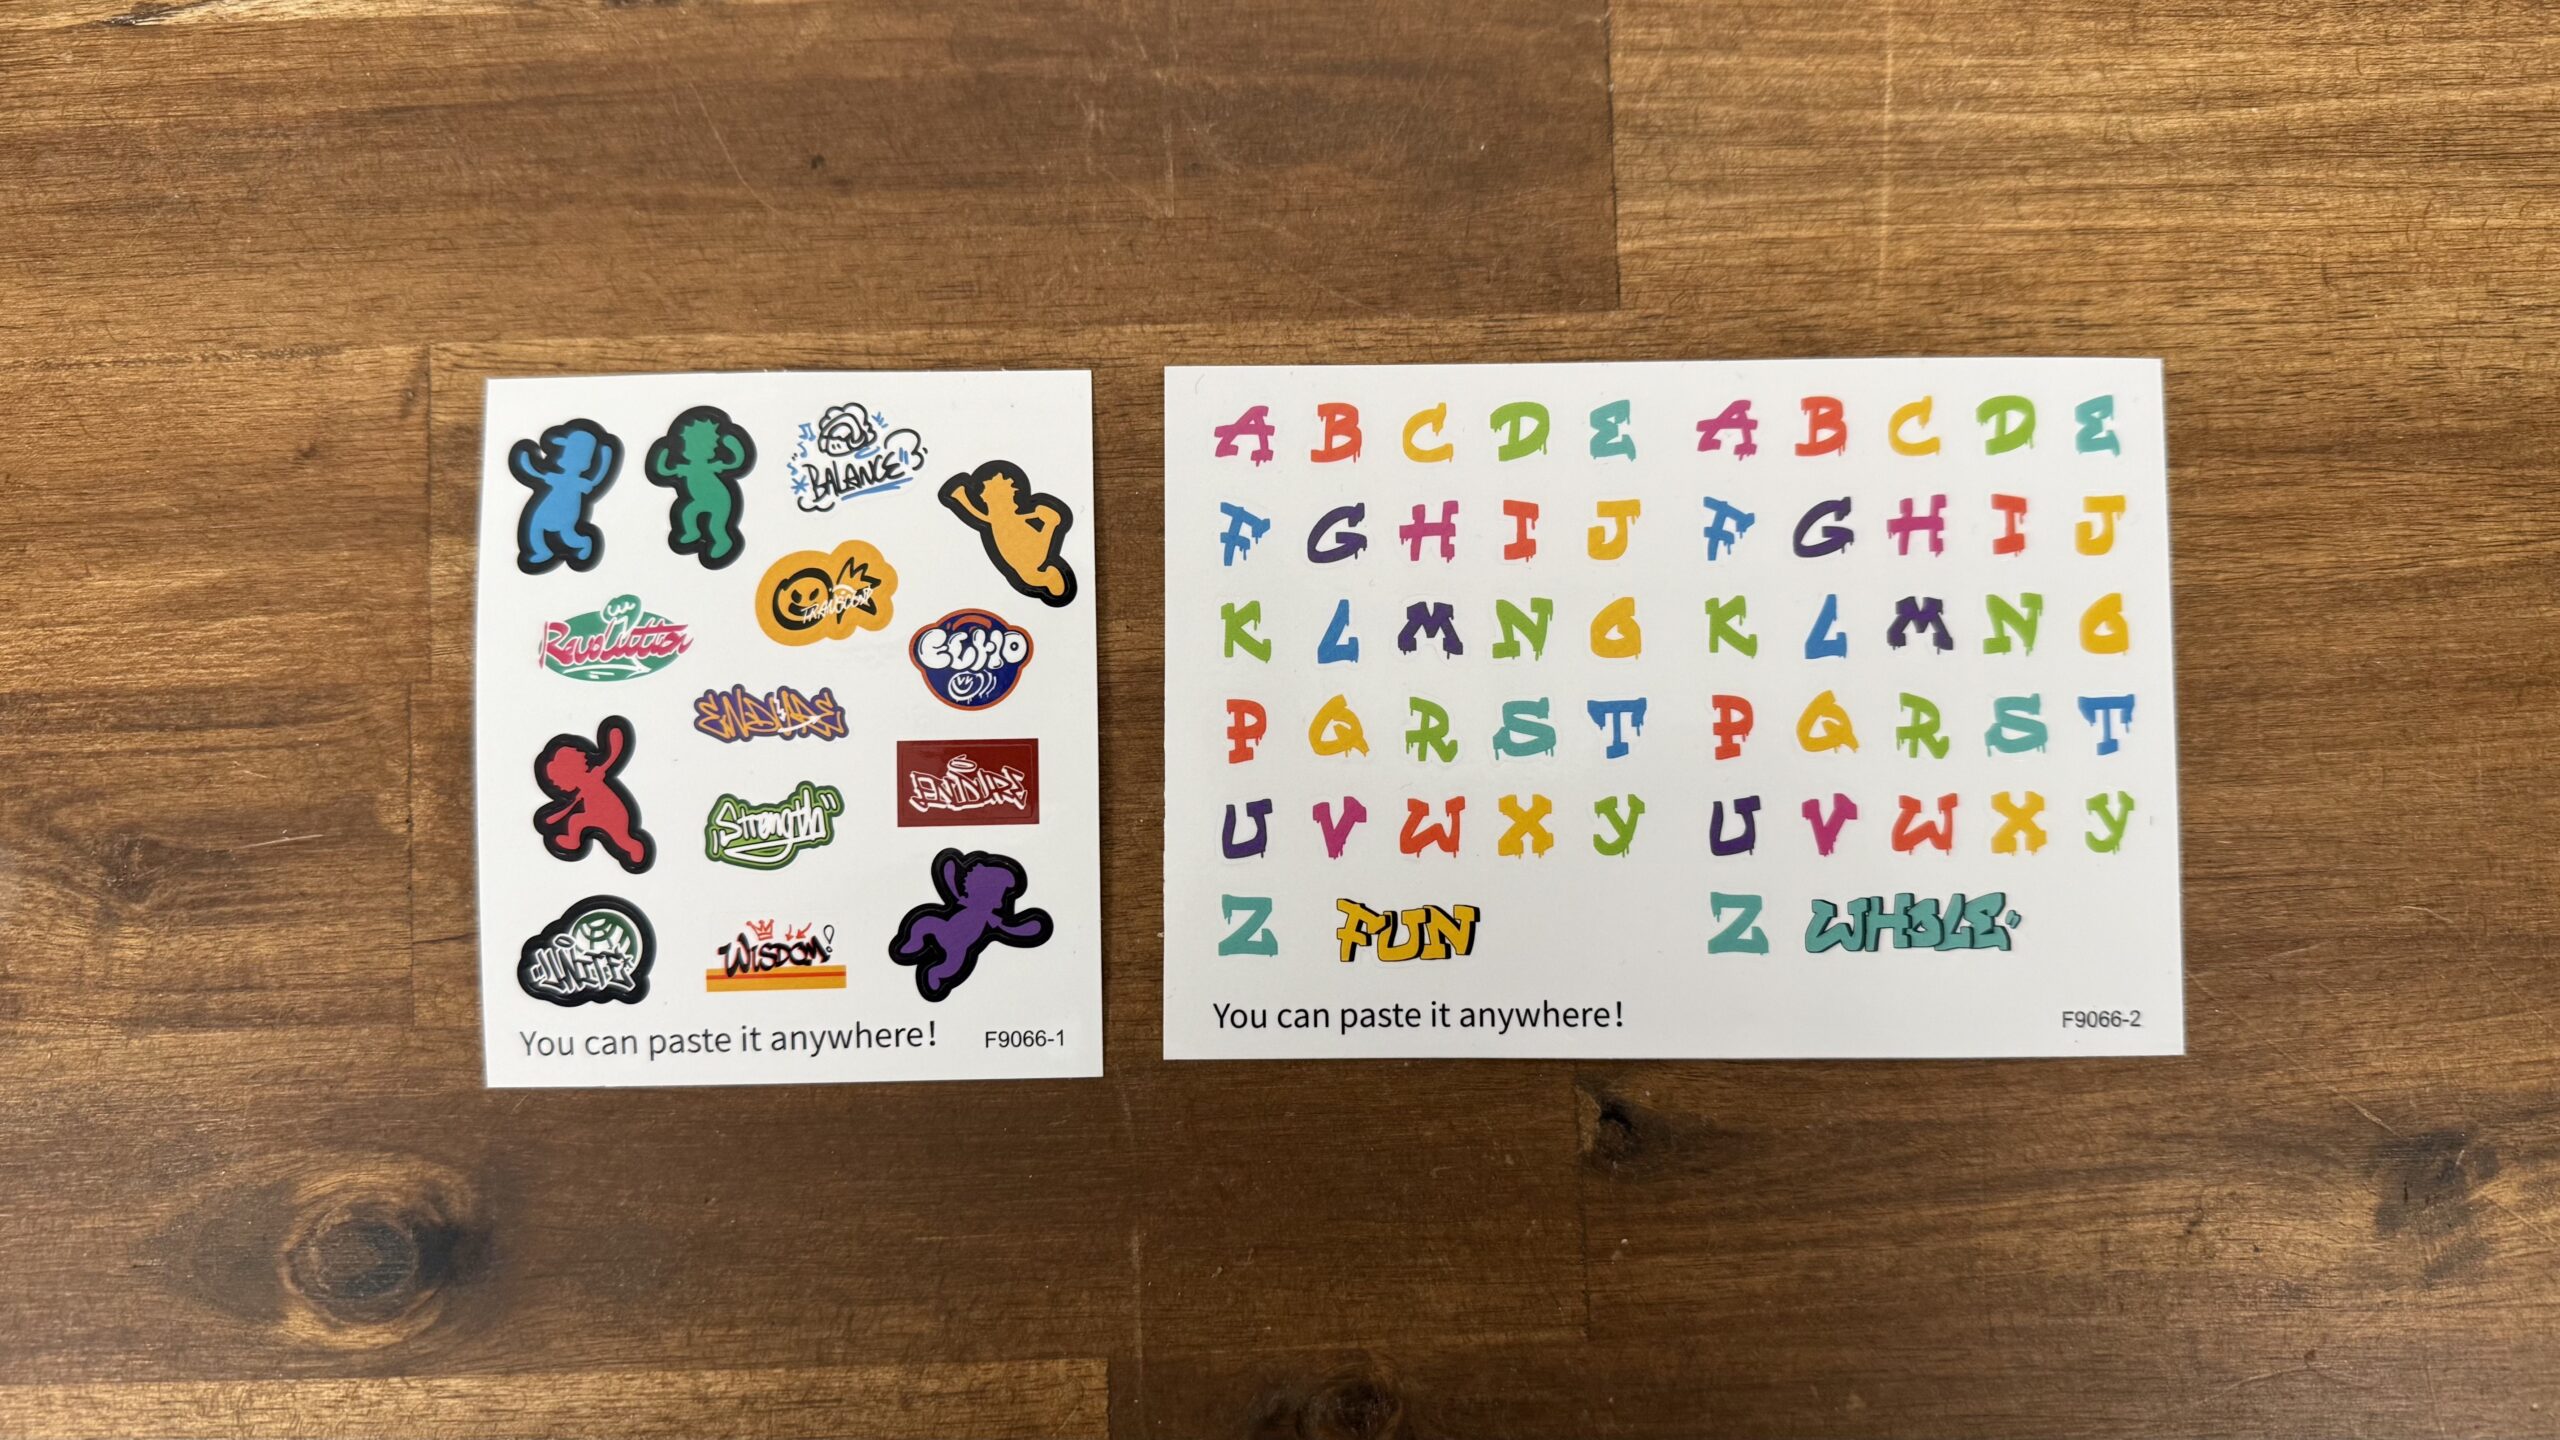
Surprise surprise. The box also contains two sticker sheets. Yes indeed, stickers are something that is no longer seen in Funwhole sets. In the new Funwhole F9066 Graffiti Bus Stop, it’s different.
Don’t worry—you don’t have to attach them. They are in the box, in case you want to personalize the set even more with graffiti. Okay, that’s enough side information. It’s time to build the set.
Minifigures
The set contains four minifigures: a girl with a skateboard and a Pacman-like print, a worker with a suitcase, a graffiti artist with a beautiful print, especially on the back, and a community worker in a work suit.
These come in many parts and must be assembled. This is easy to do, except for the hand elements, which have to be pressed in more firmly and are a bit annoying. If children build these, I would leave this work to the parents.

The minifigures have original designs, and each one has lovely little details that make it unique. However, I prefer the look of LEGO minifigures, especially in the arm area. But that is a very subjective opinion.
Nevertheless, they are high-quality minifigures that children can play with perfectly. They also bring life to the set.
Construction Step 1
It starts classically by building a surface using layers of dark blue-gray plates. I would have preferred a larger plate, but the plates hold nicely together.

Light blue and dark blue-gray tiles in various sizes are now placed on the surface. This gives the surface even more stability.
It’s nice to see that Funwhole is also using a custom round tile design with a pair of pliers to avoid the Lego designs.

The wall has already been built in the next sub-steps. Various types of bricks, such as Maisonery, are used. Panel elements were also installed to reduce the volume of the bricks slightly.

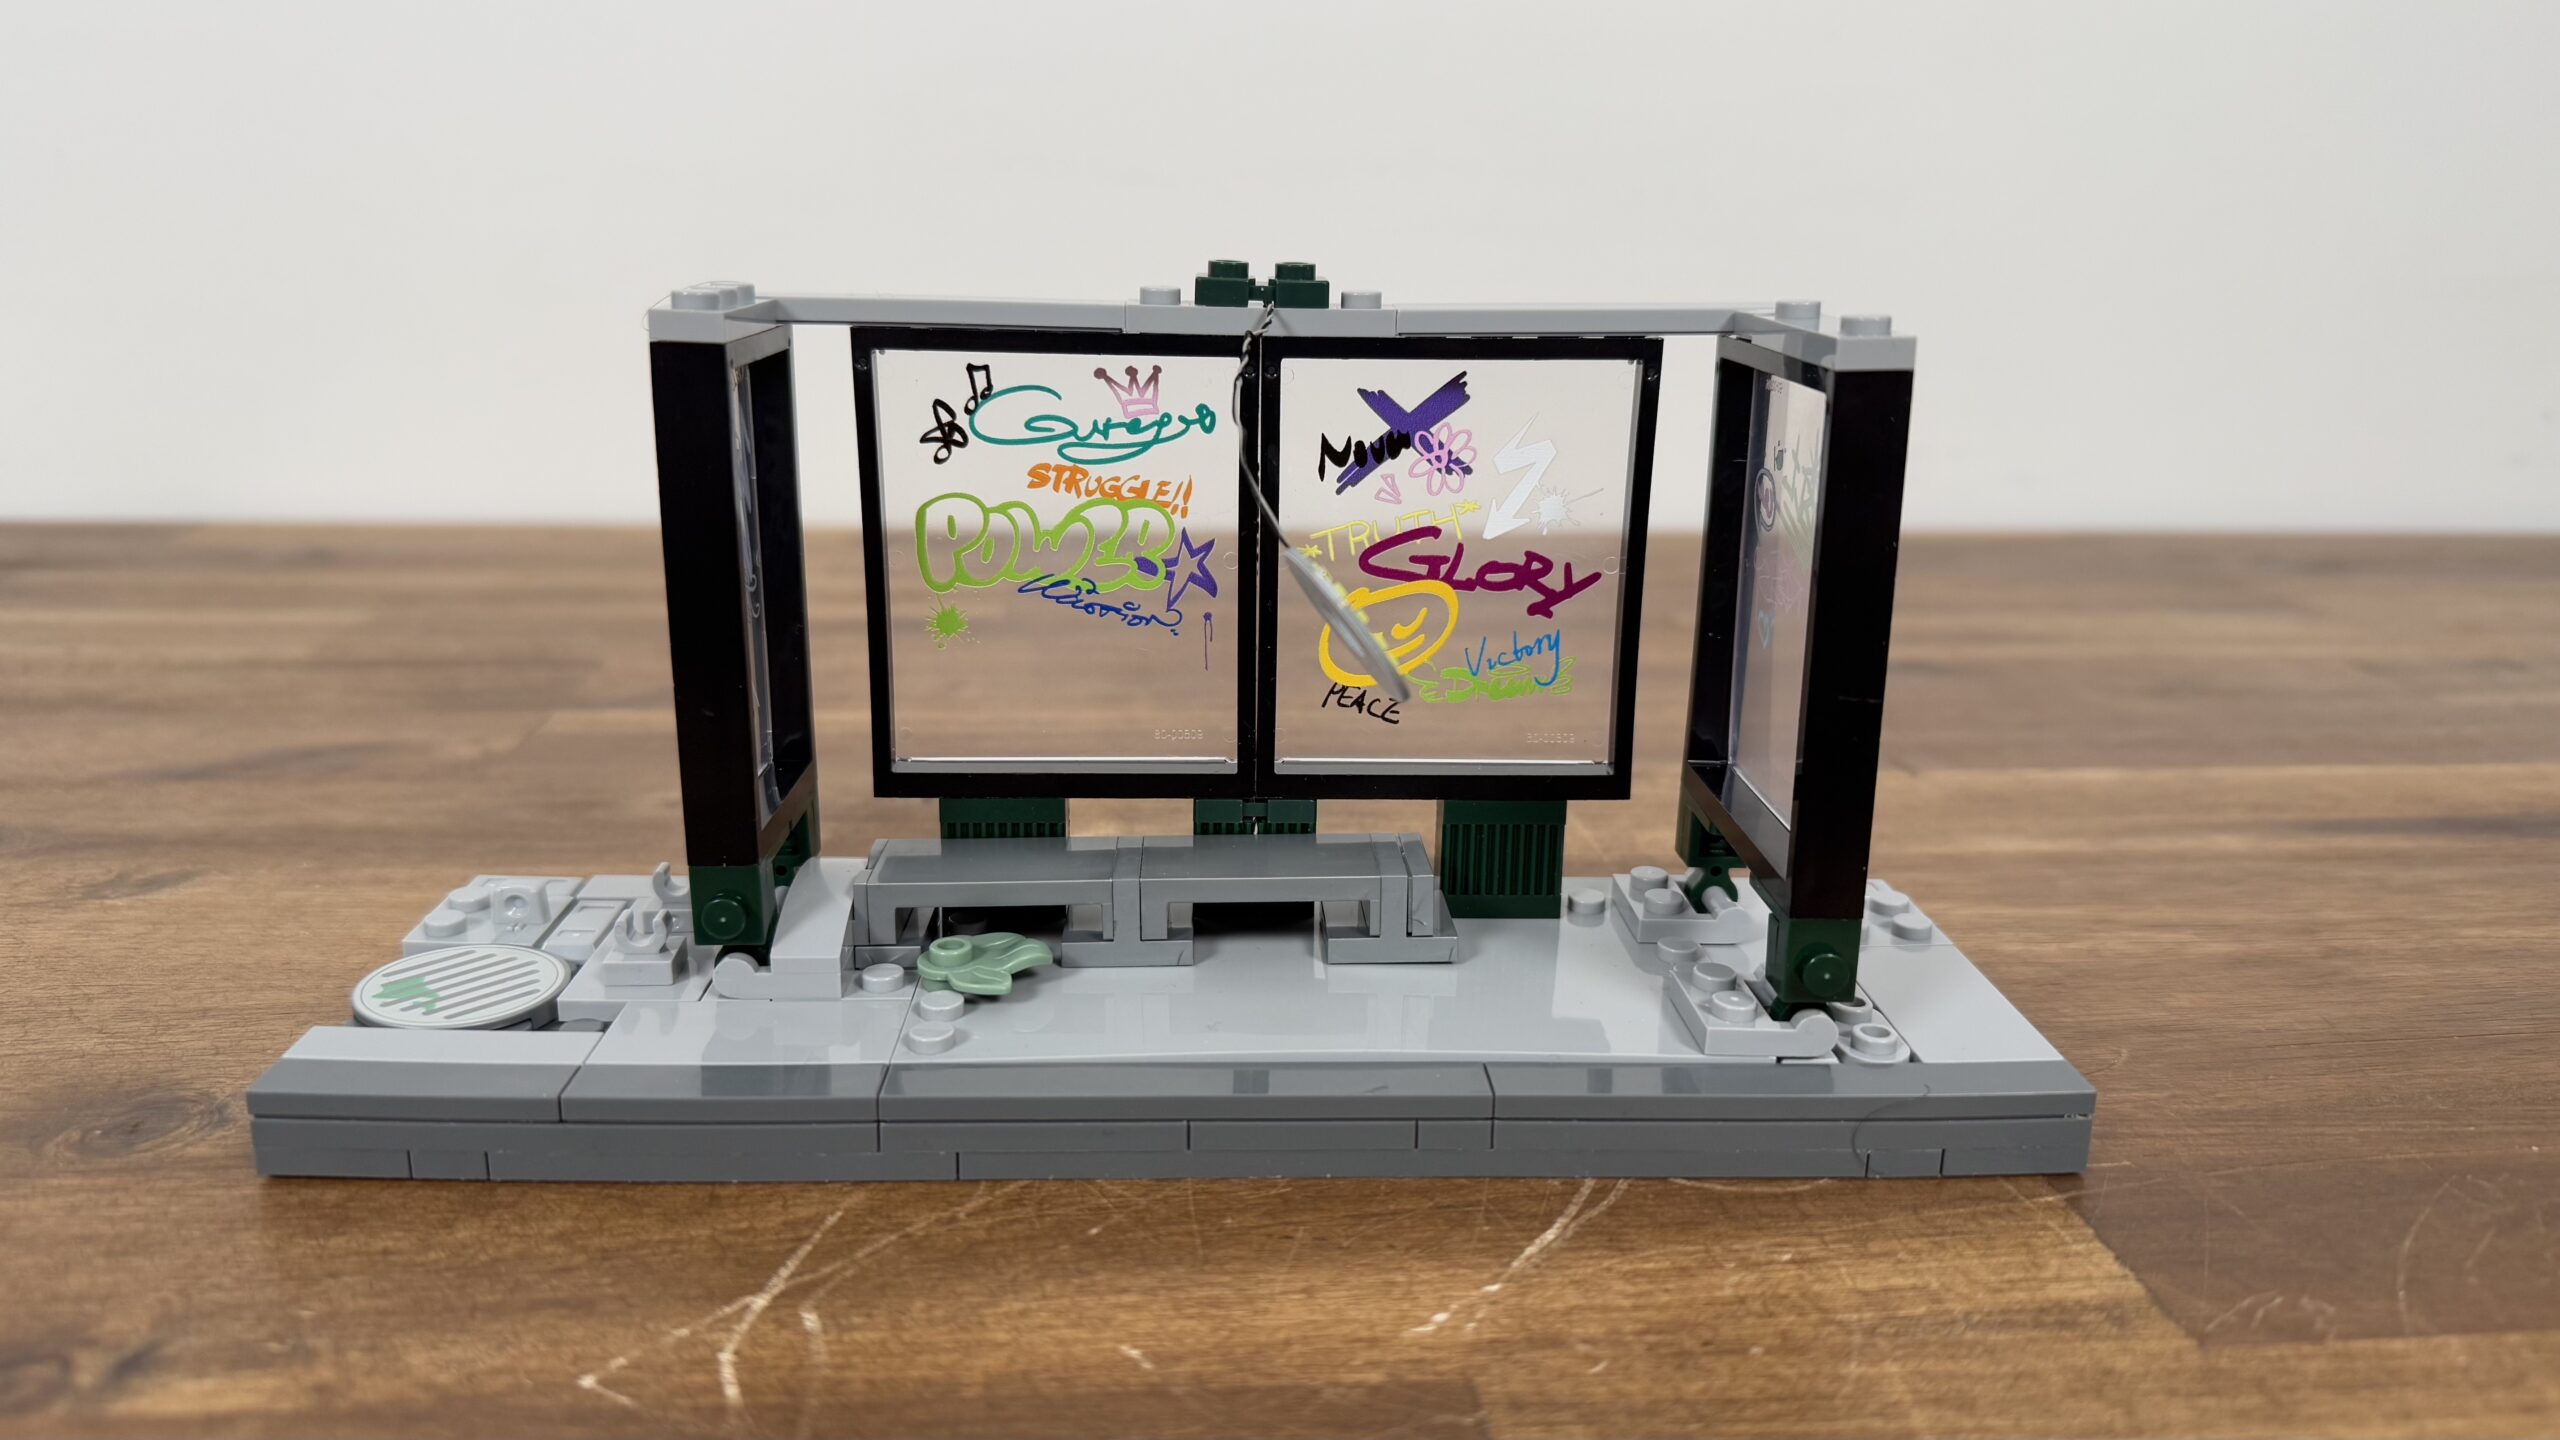
A big highlight is the large amount of printed elements with beautiful graffiti: “Love, truth, freedom.” These are very positive statements that tell us these are not evil sprayers. They are on a peaceful mission.
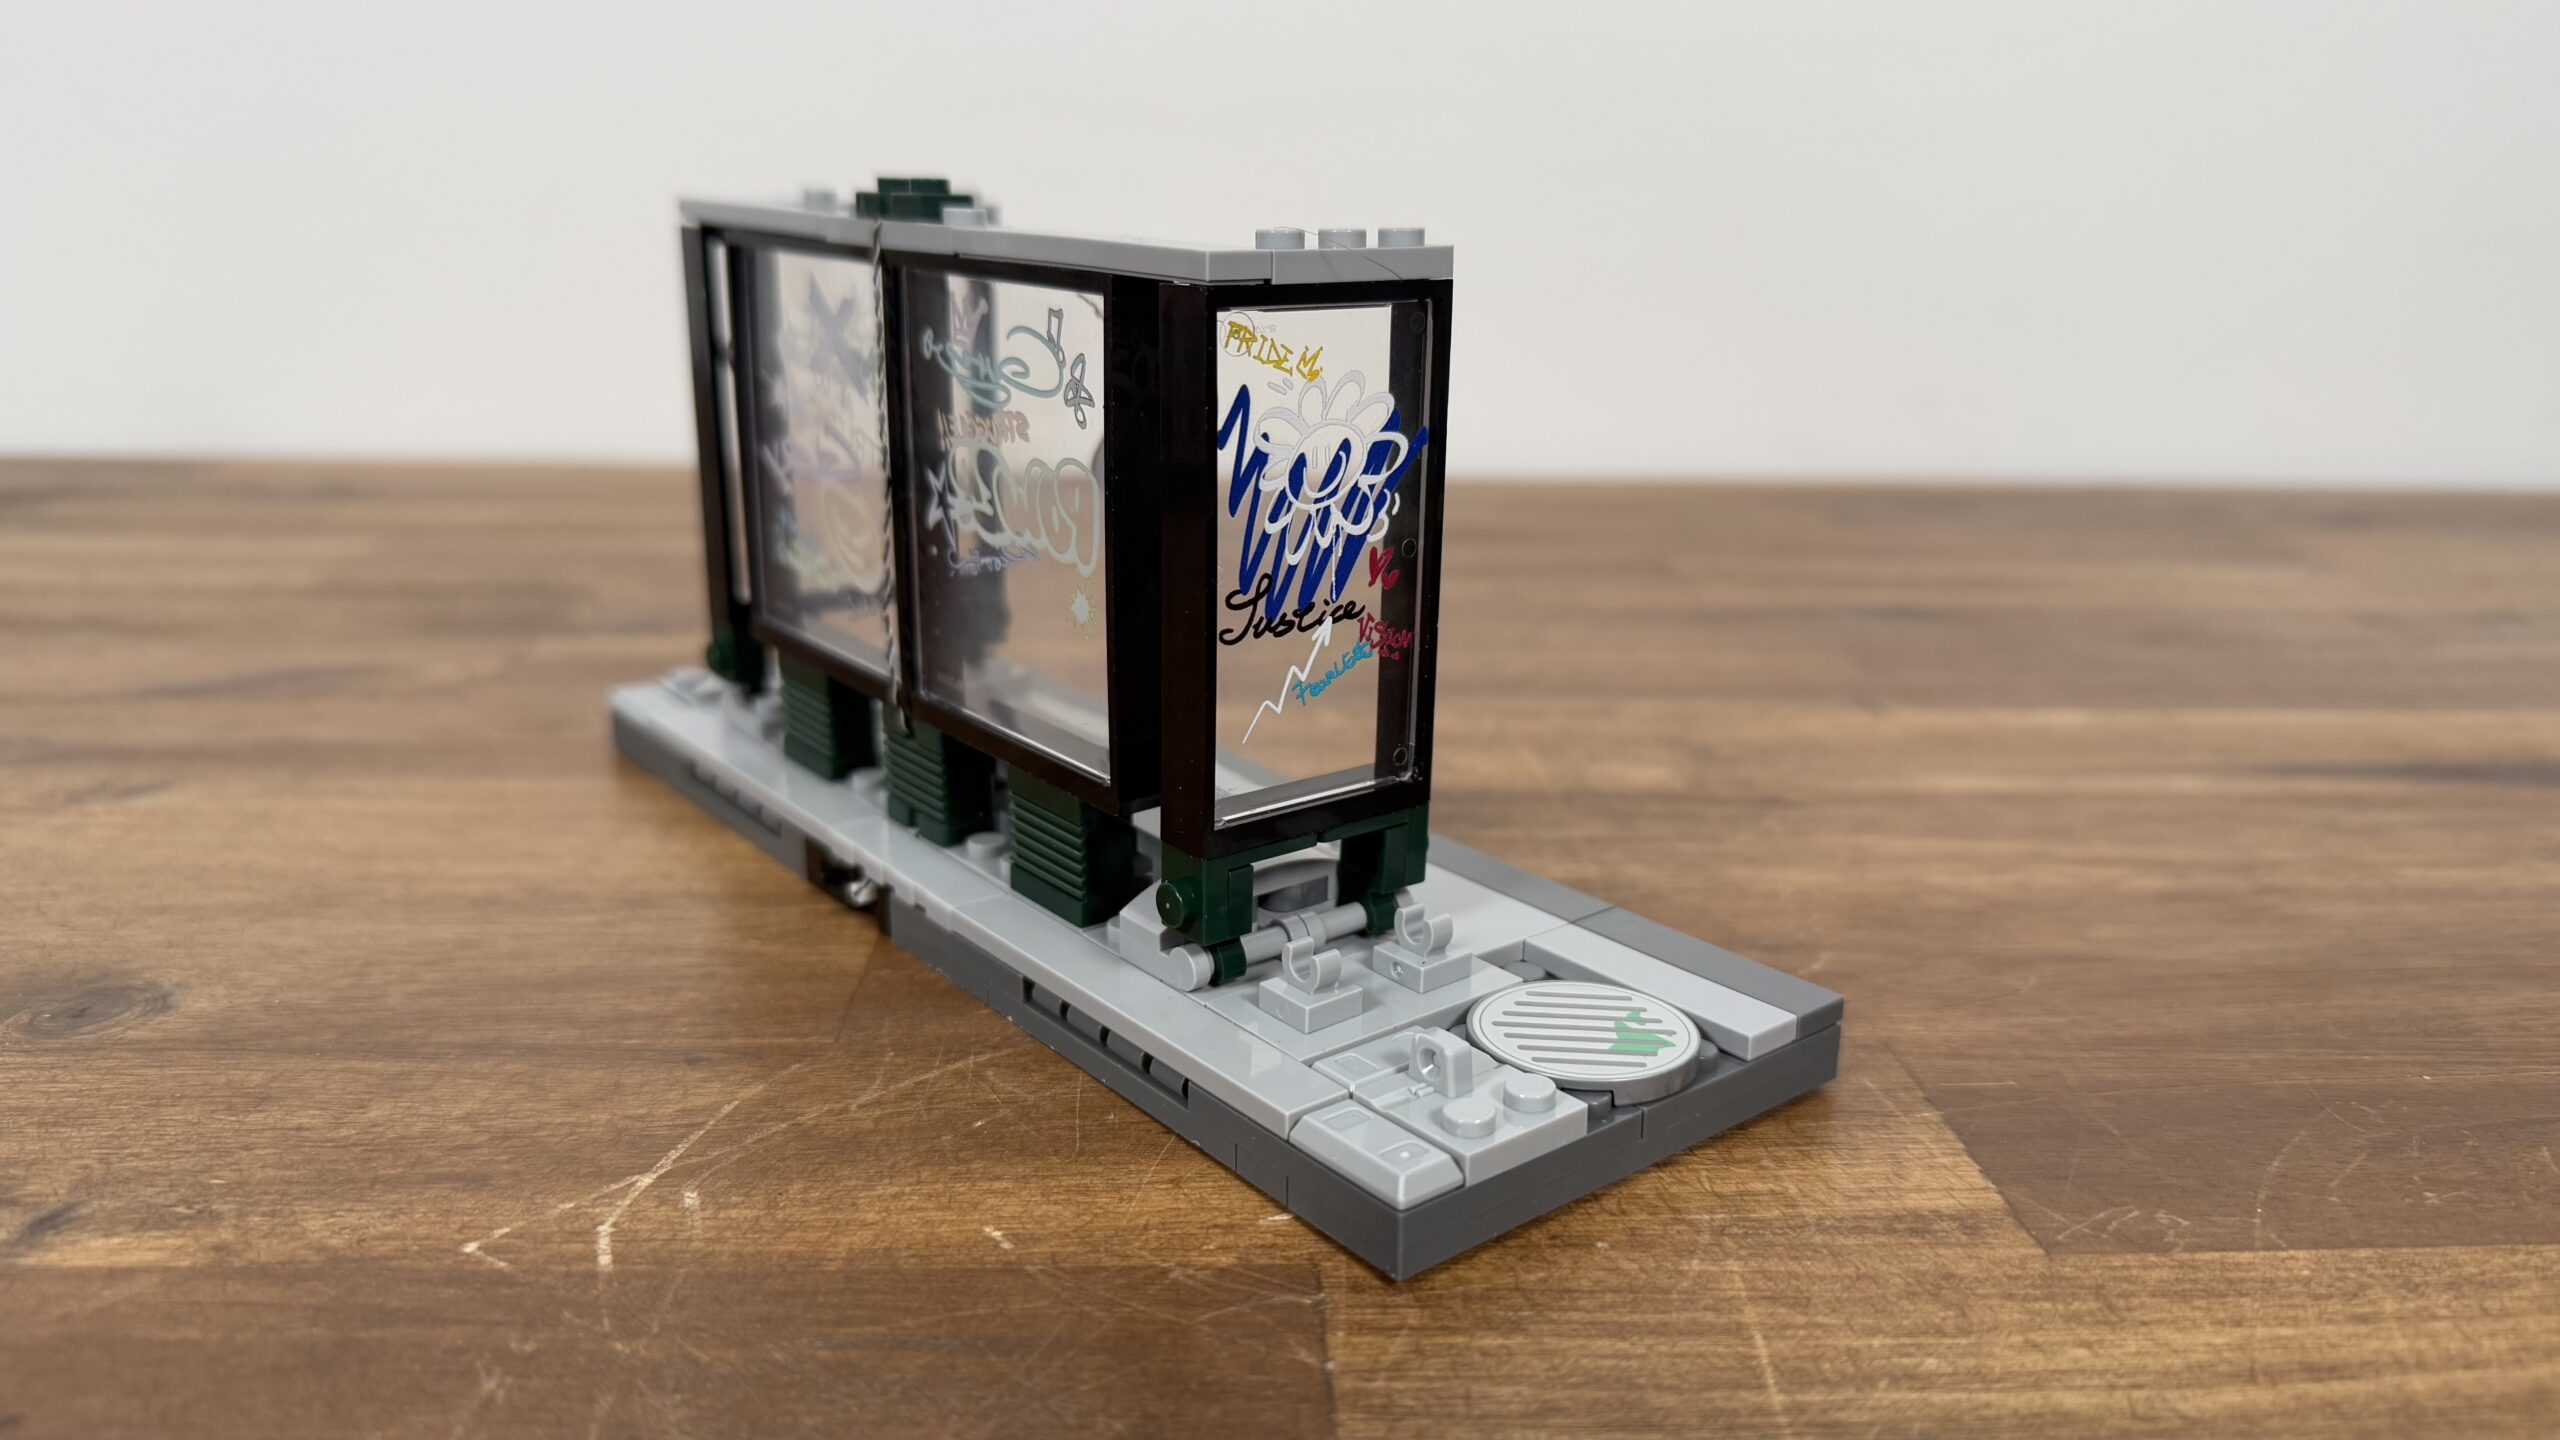
The first elements of a pipe system, made of shiny silver parts, have been added to the left. The twist lock in red and another aspect in blue provide a lovely accent. Here is also a look at the backside, where you can see the panels.

In the next sub-steps, another wall was created. I think it’s great that they added a hole to make it a bit more realistic. Various tan slopes were used for this.
The building experience so far has been very positive. The bricks and other parts are GoBricks and are very easy and smooth to install.

Construction Step 1: Electronics
The pipe system has now been enlarged and almost reached the end of the wall.
Now comes the installation of the first electronic elements. Funwhole has developed special rail bricks to run super thin cables for this. It is very easy, and you can hardly see it afterward.
These elements show noticeable improvement compared to the Funwhole FH-9001, which I assembled a few months ago. While the installation process remains pretty fiddly, it has significantly simplified, aided by more precise instructions.

You can choose between an included battery box and a USB cable. However, Funwhole doesn’t deliver it with the necessary batteries.
I initially chose this one to show you how to install the battery box. In the end, however, I switched to a USB cable because it is easier to handle. I give a big thumbs up to this cable routing. Later, you can hardly see it anymore. It’s almost at the model-building level.
Ultimately, the first construction step looks like this: once without and once with the light on.


Construction Step 2
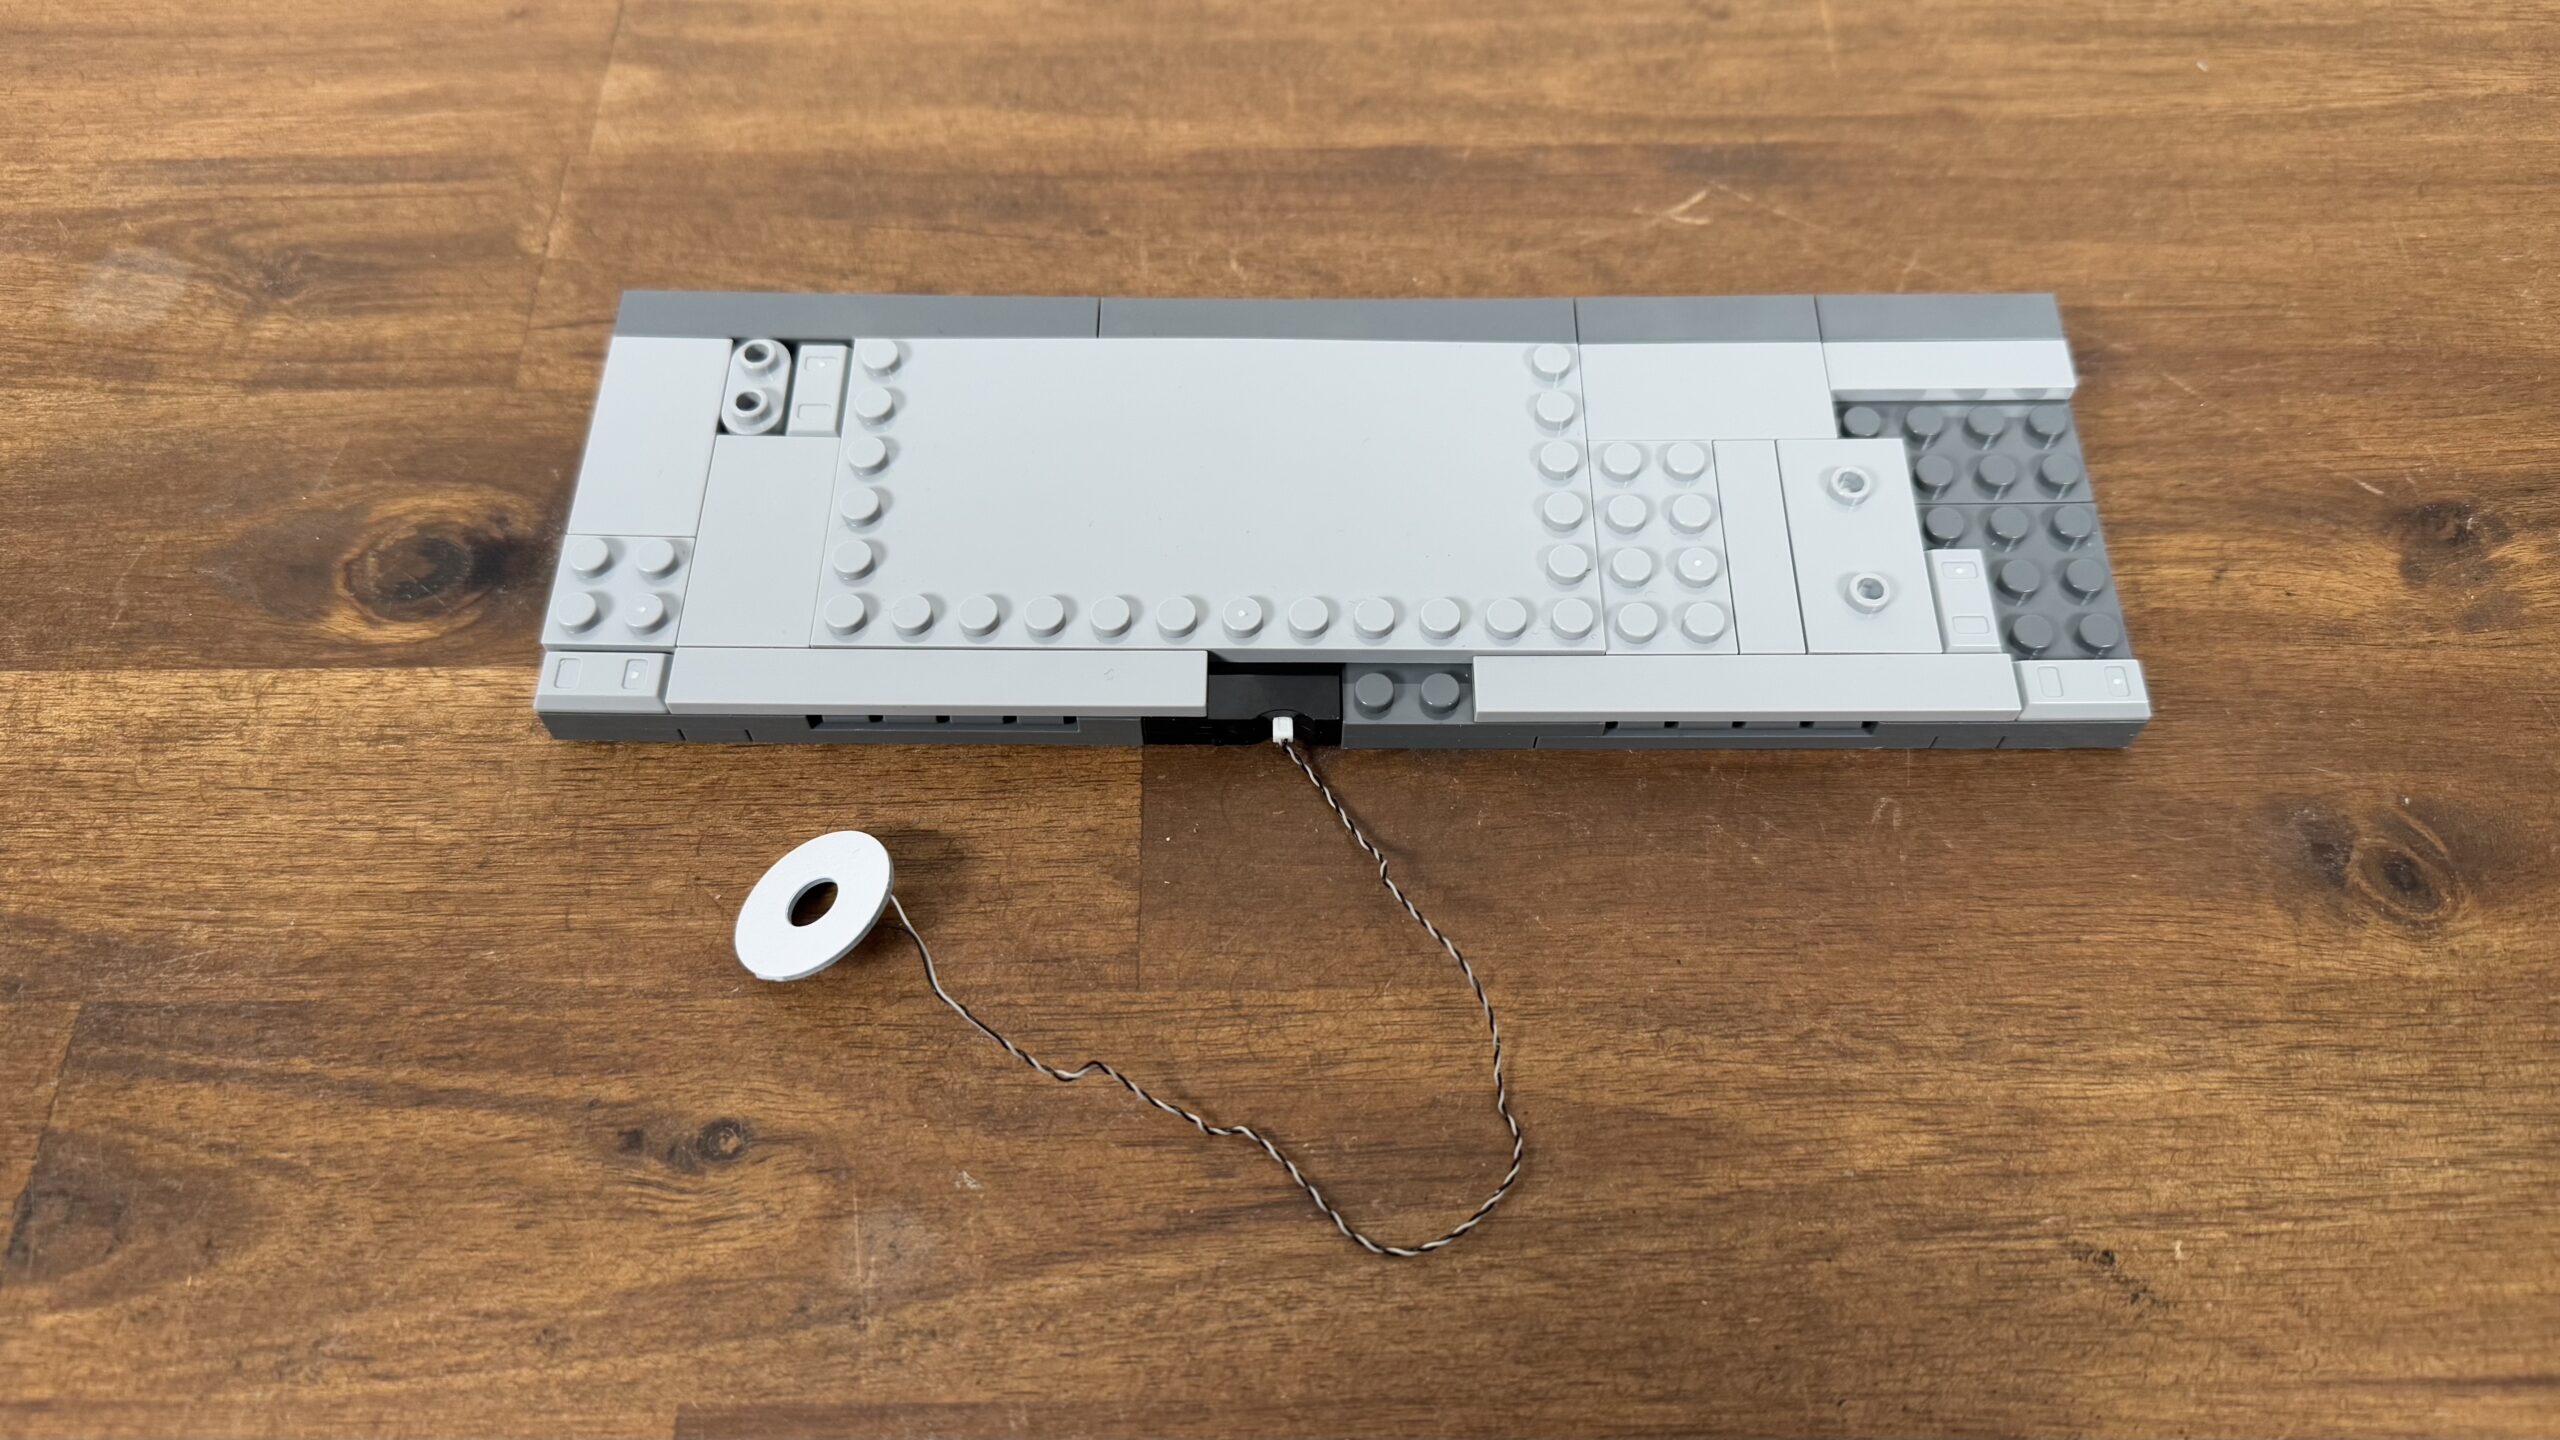
Step 2 begins just as step 1 did, constructing the base section again by layering different-sized plates.

I prefer whole plates for this kind of thing, but this layering technique makes more sense here because Funwhole hides the battery box of the second electronics. It is the electronics’ starting point.
I installed the battery box for review and photo purposes of the Funwhole F9066 but later decided to go for the USB version, especially when I noticed no batteries were included.
Nevertheless, the designers’ hiding of the battery box is neat. Although I had concerns, the floor doesn’t wobble because of it. It lies flat and does not move.

Let’s move on with the next few steps, and it’s time for the next small tie-layering party. Like in step 1, they use light blue and dark blue-gray tiles.
Take a look at the lovely printed window elements installed here. They are a highlight of the Funwhole F9066. It is nice that these prints are not repeated but original and different each time.
As already mentioned, the motifs and messages represented here are very peaceful.

When installed, the printed windows look like this and form a bus stop. Additionally, we have a shining silver bench and another large printed round part on the left side.
The super fine cable of the electronics is guided behind this window and led to the front through a special plate with an opening.

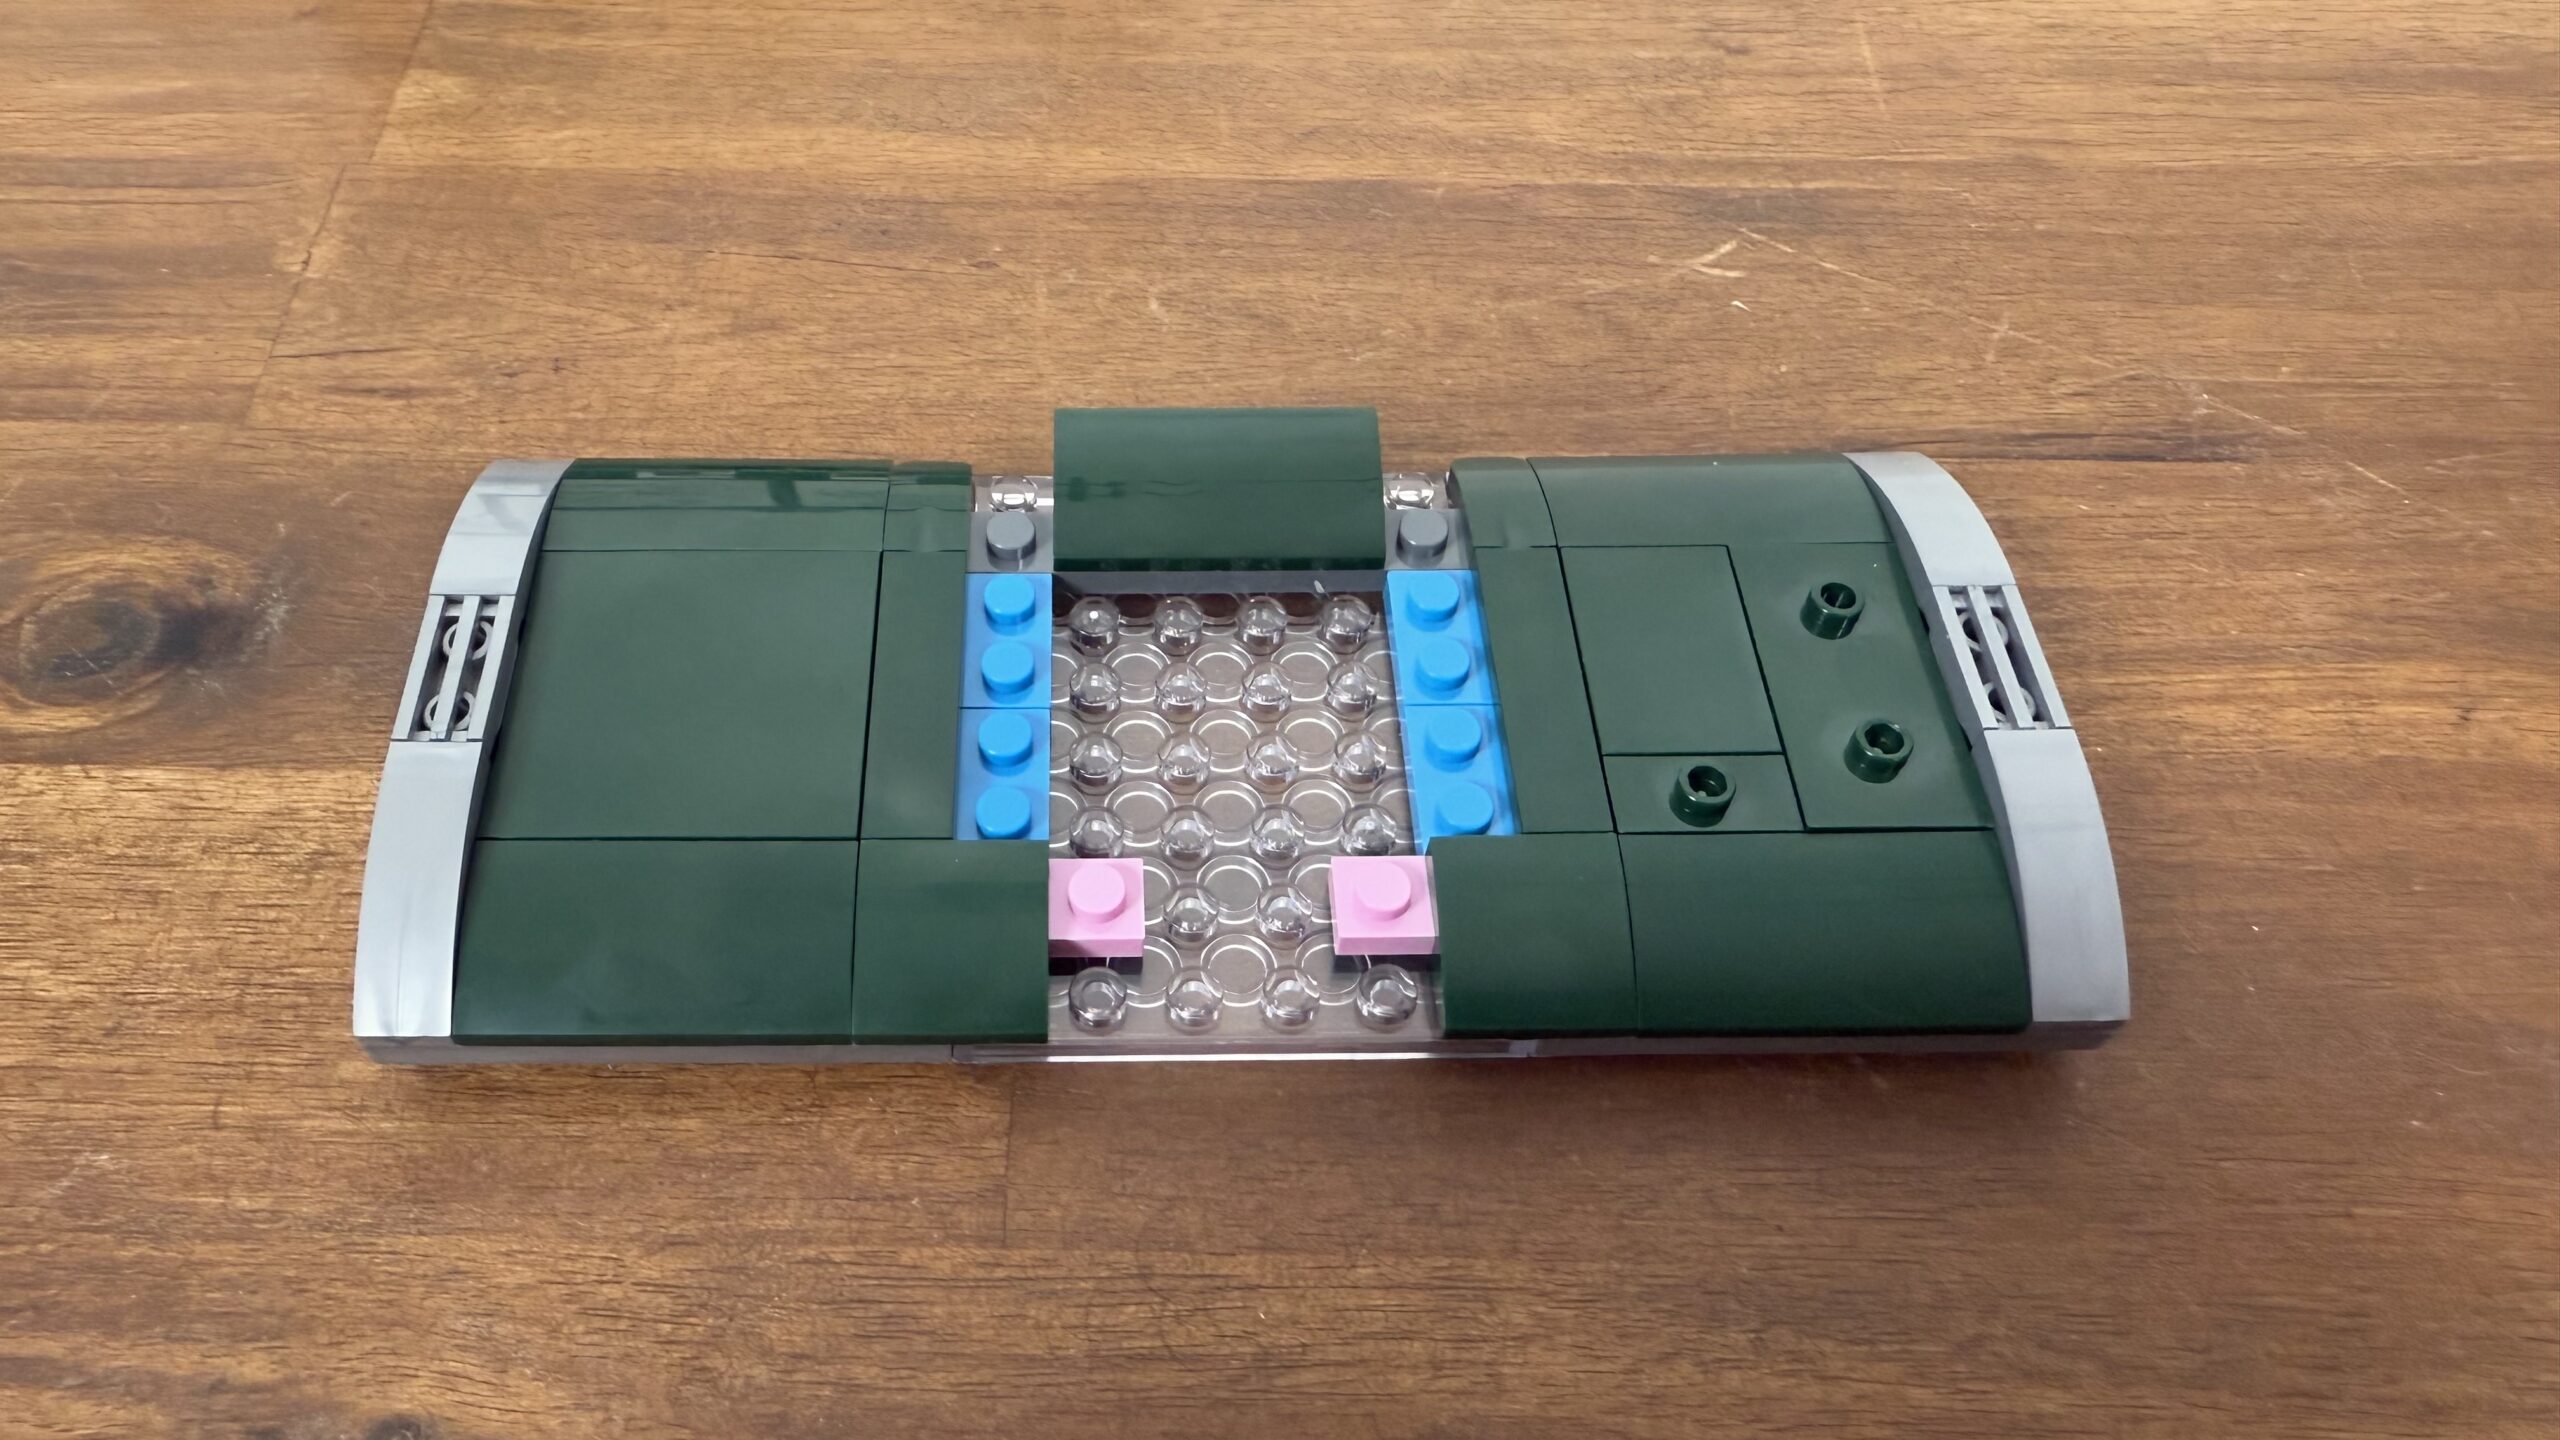
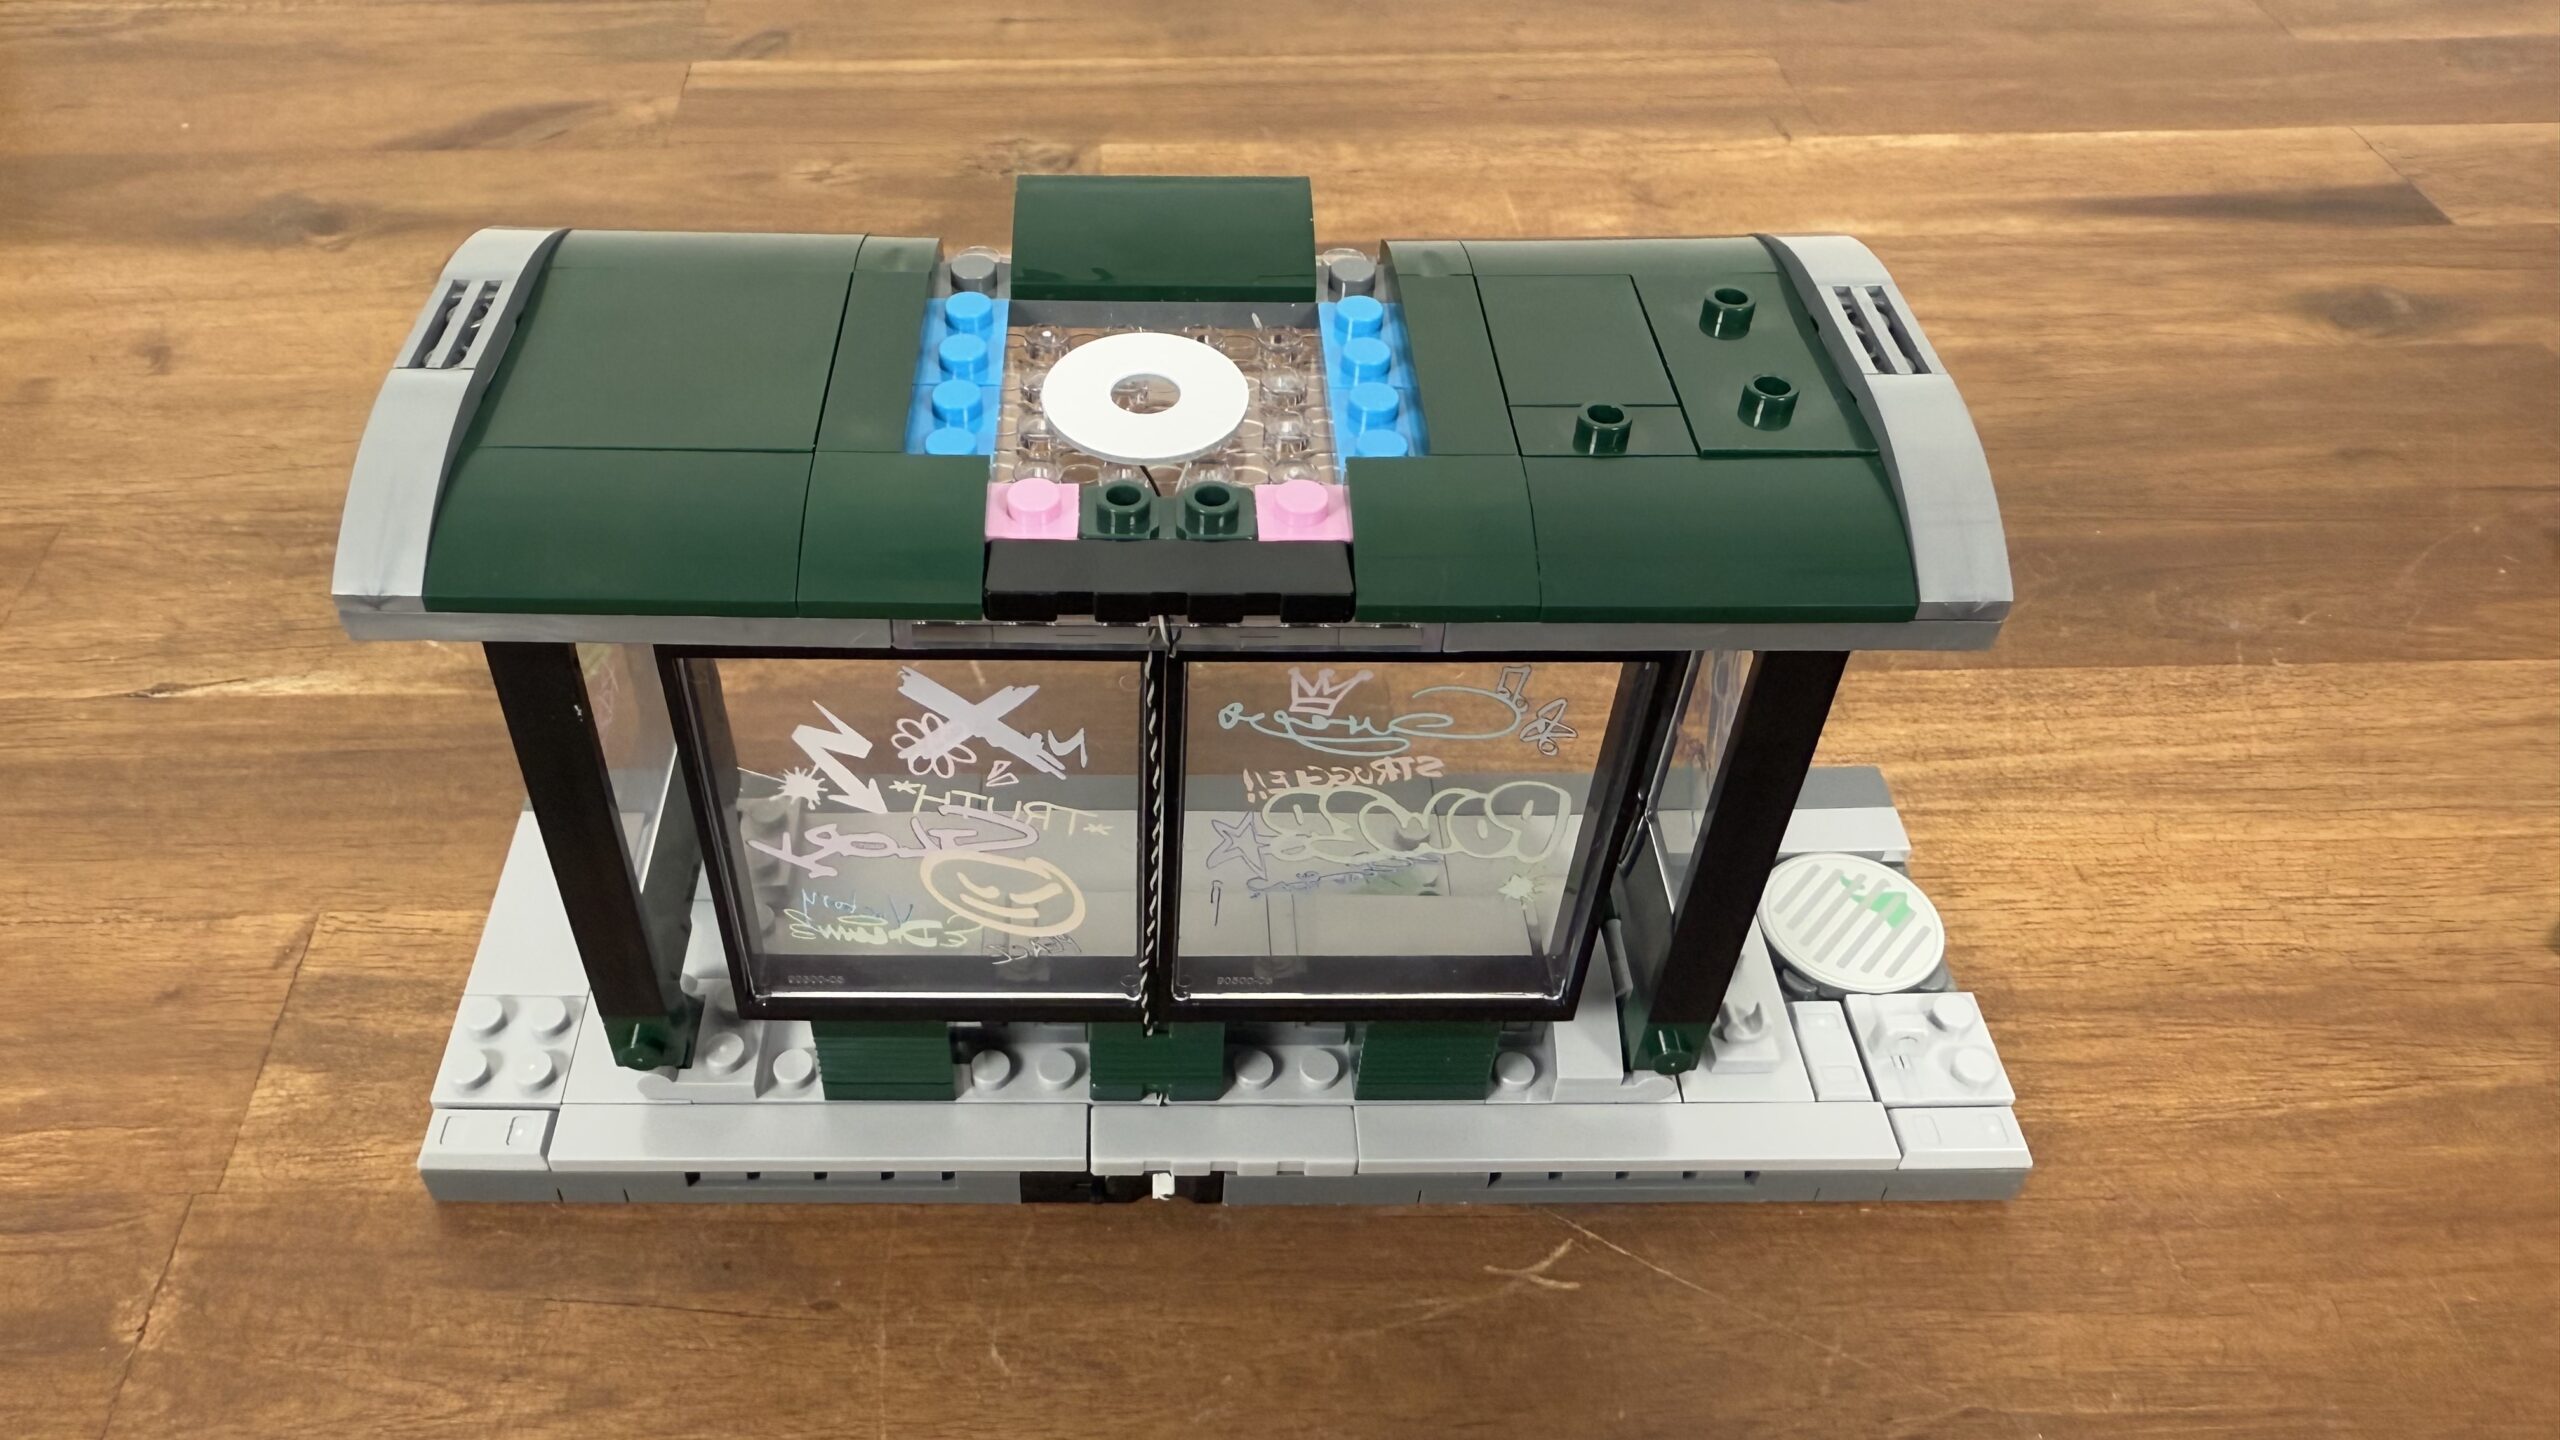
The next step focuses on the roof. Here, you first layer silver with transparent plates, gradually making it a bus stop roof.
Take a look at the middle section. It has remained empty so far because I will add a round LED element later. Then, the transparent plate also makes sense.
Construction Step 2 Electronics
In the following picture, you can see the electronics being installed. It is very elegantly solved, so you can hardly see anything.
The newly designed bricks and plates, which allow you to lay the cables almost invisibly, are a great help here.
In the next step, I closed the roof, and the electronic element was no longer visible unless you went very close, and then you could see it.
It’s time for the details that make the Funwhole F9066 a bus stop, sorry, a Graffiti Bus Stop. On the left side, a narrow bus stop sign with other beautiful, original prints was installed. An LED would have completed the look.
The bus stop now has a printed nameplate. I don’t like the design here, but that’s a matter of taste.

There is also a cat you know from the LEGO portfolio, a green bottle, a bird with green stuff for the roof, a newspaper, and a trash bin with little extras. It is very nice that this one also has two prints and that they have been graffiti-ed.
If you look at the bus stop, there is a telephone with a matching print.
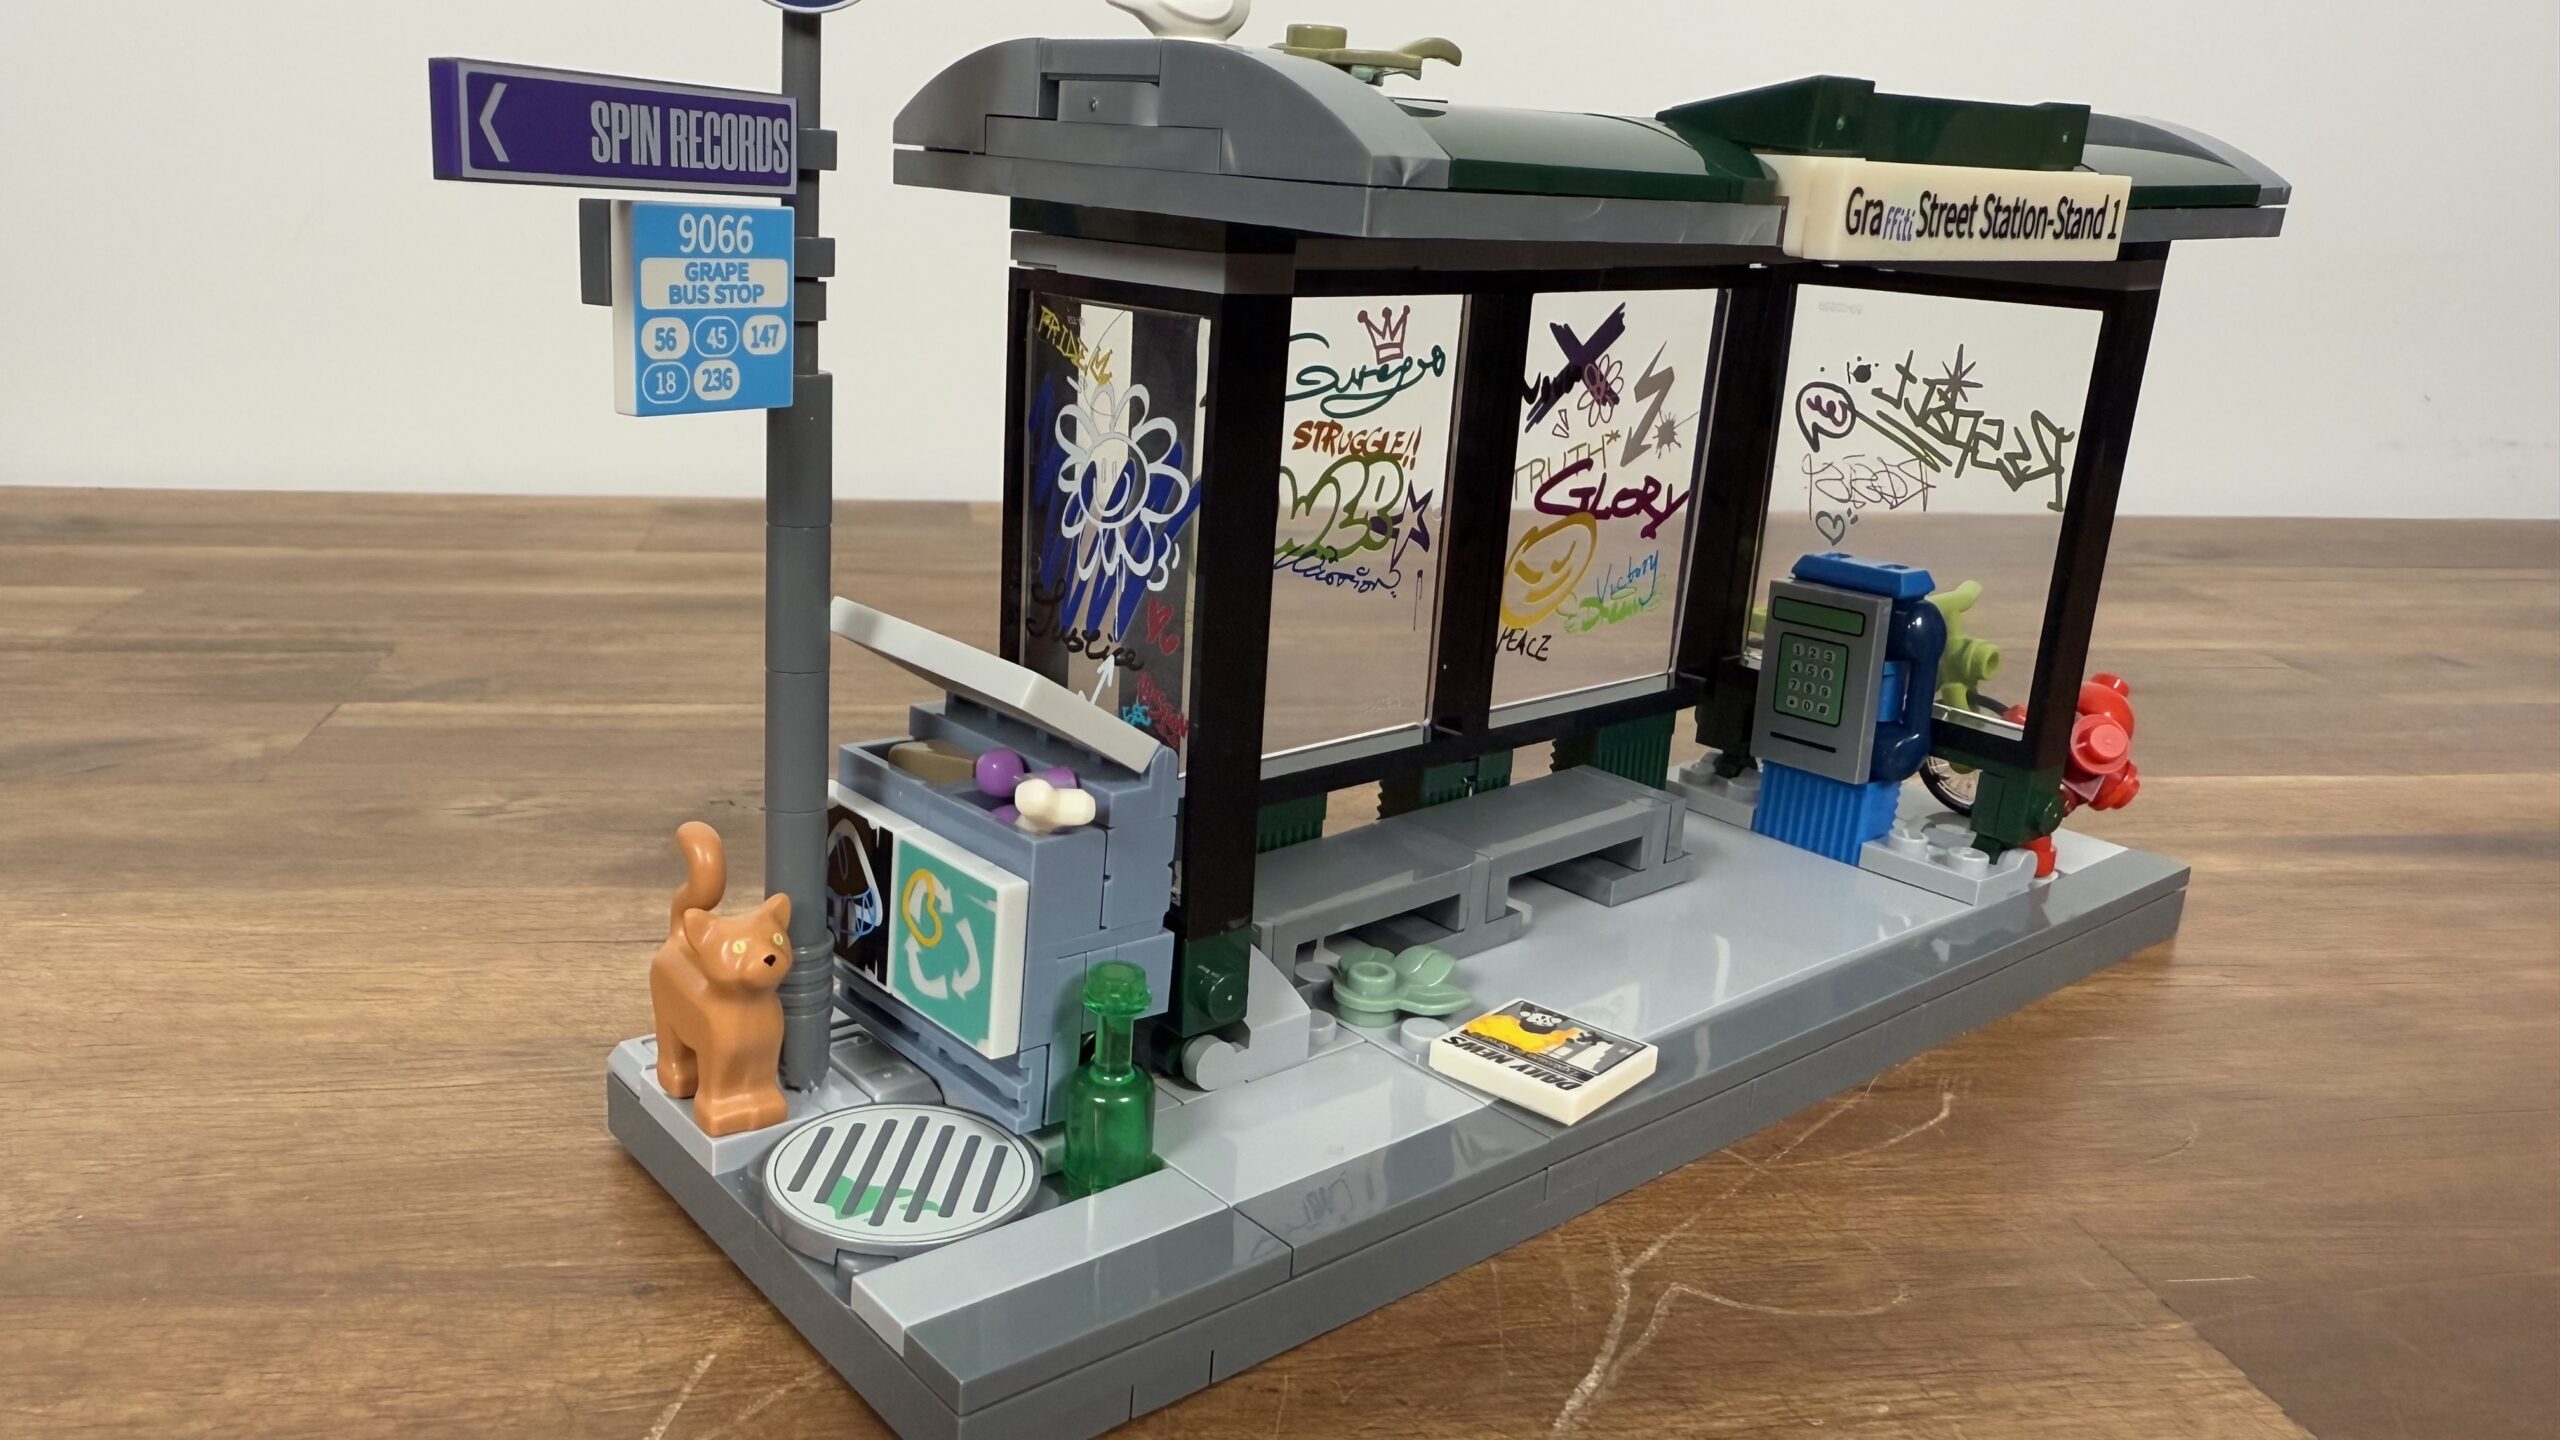
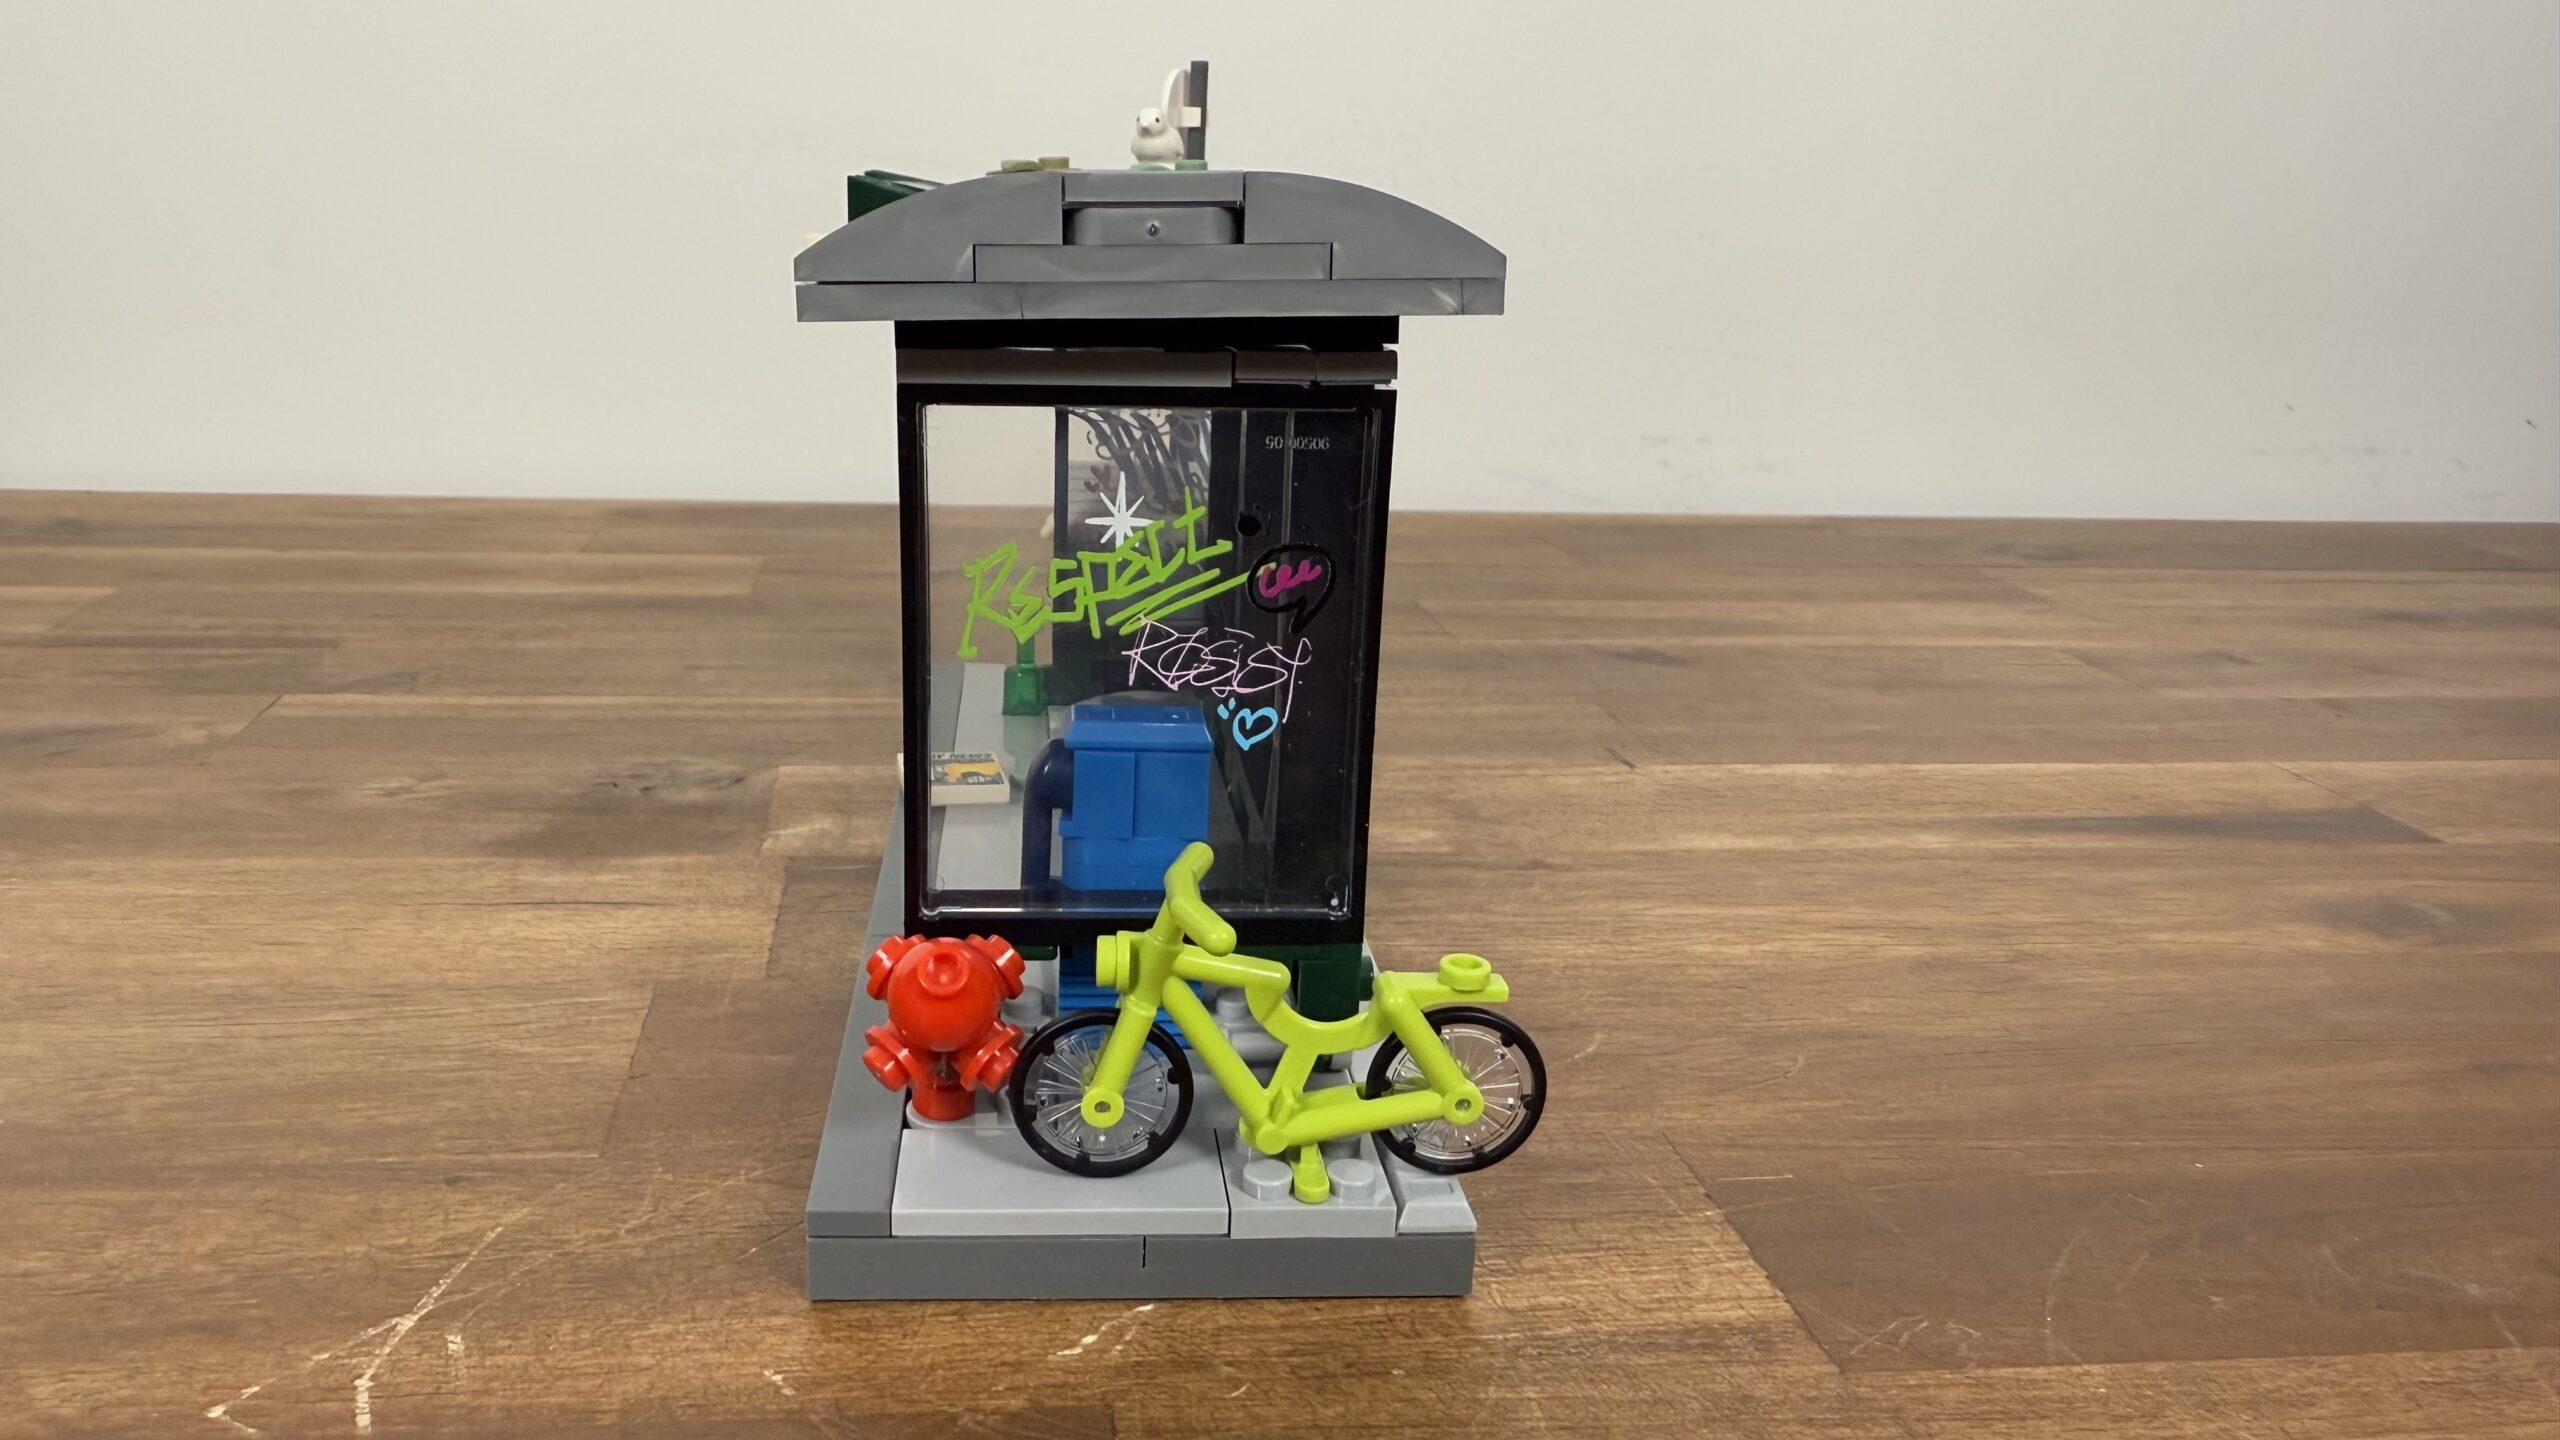
A classic bicycle and a red hydrant have been added on the right side. It’s funny that this is crooked, so it fits into the rough area where this set plays.
This completes step 2, and here is also a picture with the LED on.

Now it’s time for step 3; unfortunately, it’s already the last one.
Construction Step 3
It begins like the other steps with the construction of a surface. Significantly more minor than the previous.

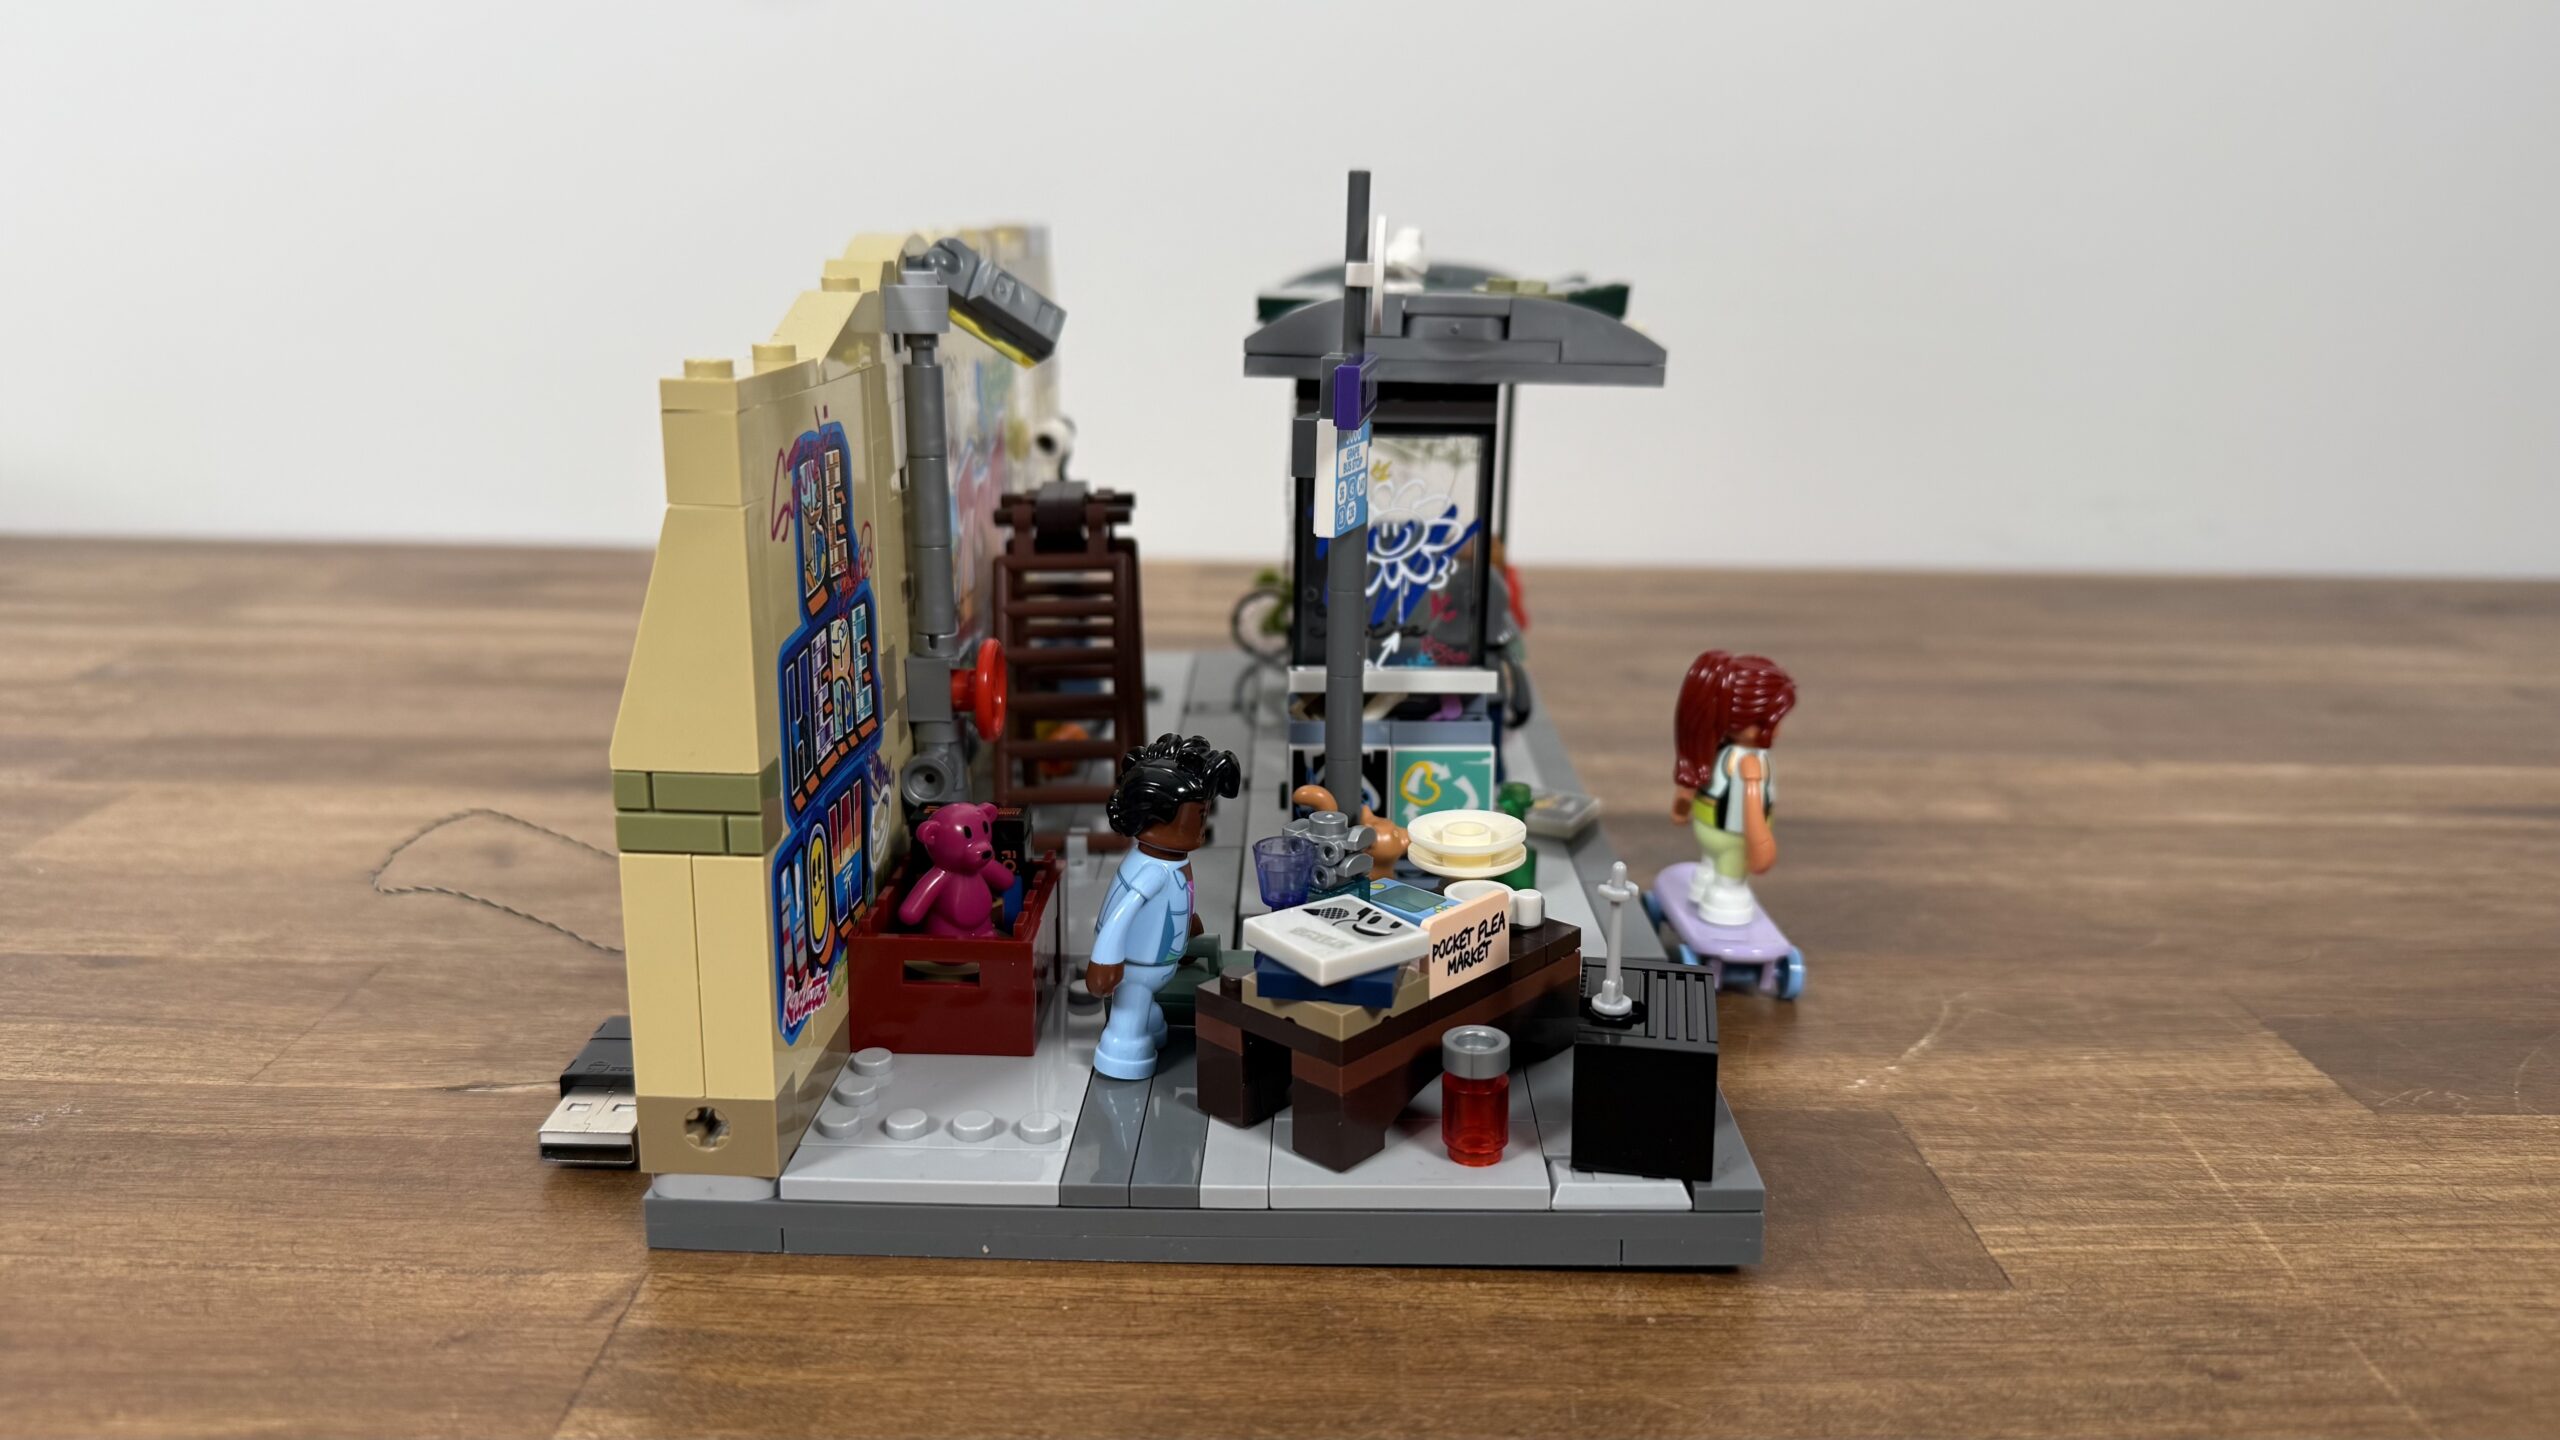
A wall has now been built in this area, consisting of various bricks, slopes, and other parts. The numerous lovely prints on the bricks immediately catch the eye.
The remaining space is a kind of open-pocket flea market.

You can discover numerous small excellent details—for example, a vinyl record, an old-fashioned television, a purple teddy bear, and much more. Most of these little details also have custom prints.

Step 3 is now complete, and the set is ready. It consists of three independent modules that can be freely organized thanks to connecting parts on the sides.
This means the set remains partially modular. You can use it as one large set or place the individual elements in your city.

Here are more photos showing the set with all three elements together.
Pictures


Funwhole F9066 Review Conclusion
The new Funwhole F9066 is a great set: beautiful depth, many details, an absurd number of pad prints, and a perfectly thought-out LED concept. The 16×32 footprint is a perfect size that gives any city setups more life.
Also, the brick and part quality is very high—at least at the LEGO level, and sometimes even higher—because the color fidelity is better here than on current sets from Denmark.
The construction is varied and fun from the first to the last step. The only thing that isn’t enjoyable is building the minifigures, especially the hand elements.
There are four minifigures in the box. They look lovely, but they don’t suit my taste. I still like the LEGO minifigures too much. But they are perfect for children to play. They fit well in the hand and are easy to move.
All in all, this is another fantastic set from Funwhole. The young Chinese company is currently at a level that is hard to top and where the big Danish player can learn a thing or two, especially in print and electronics.
At around 45€ (- discounts) for 514 parts, the price per part is €0.08, which means the set is no bargain. However, you get a lot of prints, electronics, and quality for it, which makes it a better deal than most of today’s LEGO sets.
Pro
- excellent brick quality
- high-quality instruction
- tons of pad prints
- unique, original design
- almost, invisible lightning system with perfect instruction
Neutral
- minifigures
Contra
- minifigure hand construction
German Video (Review)
Funwhole F9066 is available now for 43,85€ on the official website. Use the coupon code brickanatomy to get 10% OFF your purchase.
More information here: Funwhole
Available at my partner-shops


